
Why part prep matters before scanning
3D scanning picks up surface detail, edges and geometry, but it also picks up problems. A polished turning, a greasy casting or a part with burrs can confuse the scanner and leave holes in the data. That means more time cleaning the file and sometimes a second setup on the floor.
In a busy shop, that extra time costs money. If you are scanning a worn bracket for reverse engineering, checking a jig, or capturing an old component for remanufacture, the part needs to present cleanly. Prep does not have to be complicated. It just needs to be practical and suited to the part, the machine and the environment.
In the Eastern Cape, dust, humidity and load-shedding also play a part. A surface that was clean in the morning can pick up fine grime by afternoon. On coastal jobs in Port Elizabeth CBD or near the harbour side, light corrosion can appear quickly. That is why prep should be part of the scanning job, not an afterthought.
How to handle shiny, dark and reflective surfaces
Reflective parts are one of the most common problems in scanning. Stainless, aluminium, chrome-like finishes and machine-polished surfaces can bounce the light around and leave patchy results. Dark parts can be difficult too, especially if they are worn or have uneven texture.
For these jobs, the aim is to create a surface that the scanner can read evenly. That may mean a light scan spray, removable coating, or a temporary surface treatment that comes off after capture. The key is to use only what the part can handle and what the final use allows. A decorative surface, a gauging face or a close tolerance mating surface may need extra care.
- Remove oil, coolant and fingerprints first
- Use a thin, even coating rather than heavy layers
- Check that the coating will not damage markings or stamps
- Allow the part to settle to room temperature before scanning
- Avoid patchy prep, because it can create false readings
In many cases a light prep on the worst areas is enough. You do not need to treat the whole part if only one side is giving trouble. That saves time and keeps the job cleaner.
Cleaning worn parts without changing the geometry
Worn parts need a careful hand. Scale, sludge, rust and burrs can hide the real shape, but aggressive cleaning can also alter the very feature you are trying to capture. A wire brush on a sealing edge, or a heavy grind on a worn boss, can make the scan less useful.
Start with the least invasive method that will work. Wipe away coolant and loose dirt, then use controlled cleaning methods for stubborn contamination. If the part has chips, cracked edges or raised burrs from service wear, note them before you remove anything. Those details may be important to the scan and to the repair decision later.
- Degrease before you start marking or measuring
- Keep cleaning tools soft where the profile matters
- Record damage first if the part is to be repaired or compared later
- Use gentle rust removal on outer faces, not on datum surfaces unless agreed
- Dry the part fully, because trapped moisture can affect capture
For a worn pump cover, gearbox housing or fixture component, a careful prep process gives a better basis for modelling and inspection. It also helps the operator see where material has really been lost.
Holding the part so the scanner can see it
Even a well prepared part can scan badly if it is set up poorly. The scanner needs access to enough surface area from the right angles. If the part is buried between clamps, sitting on a cluttered bench or moving slightly during capture, the result will show it.
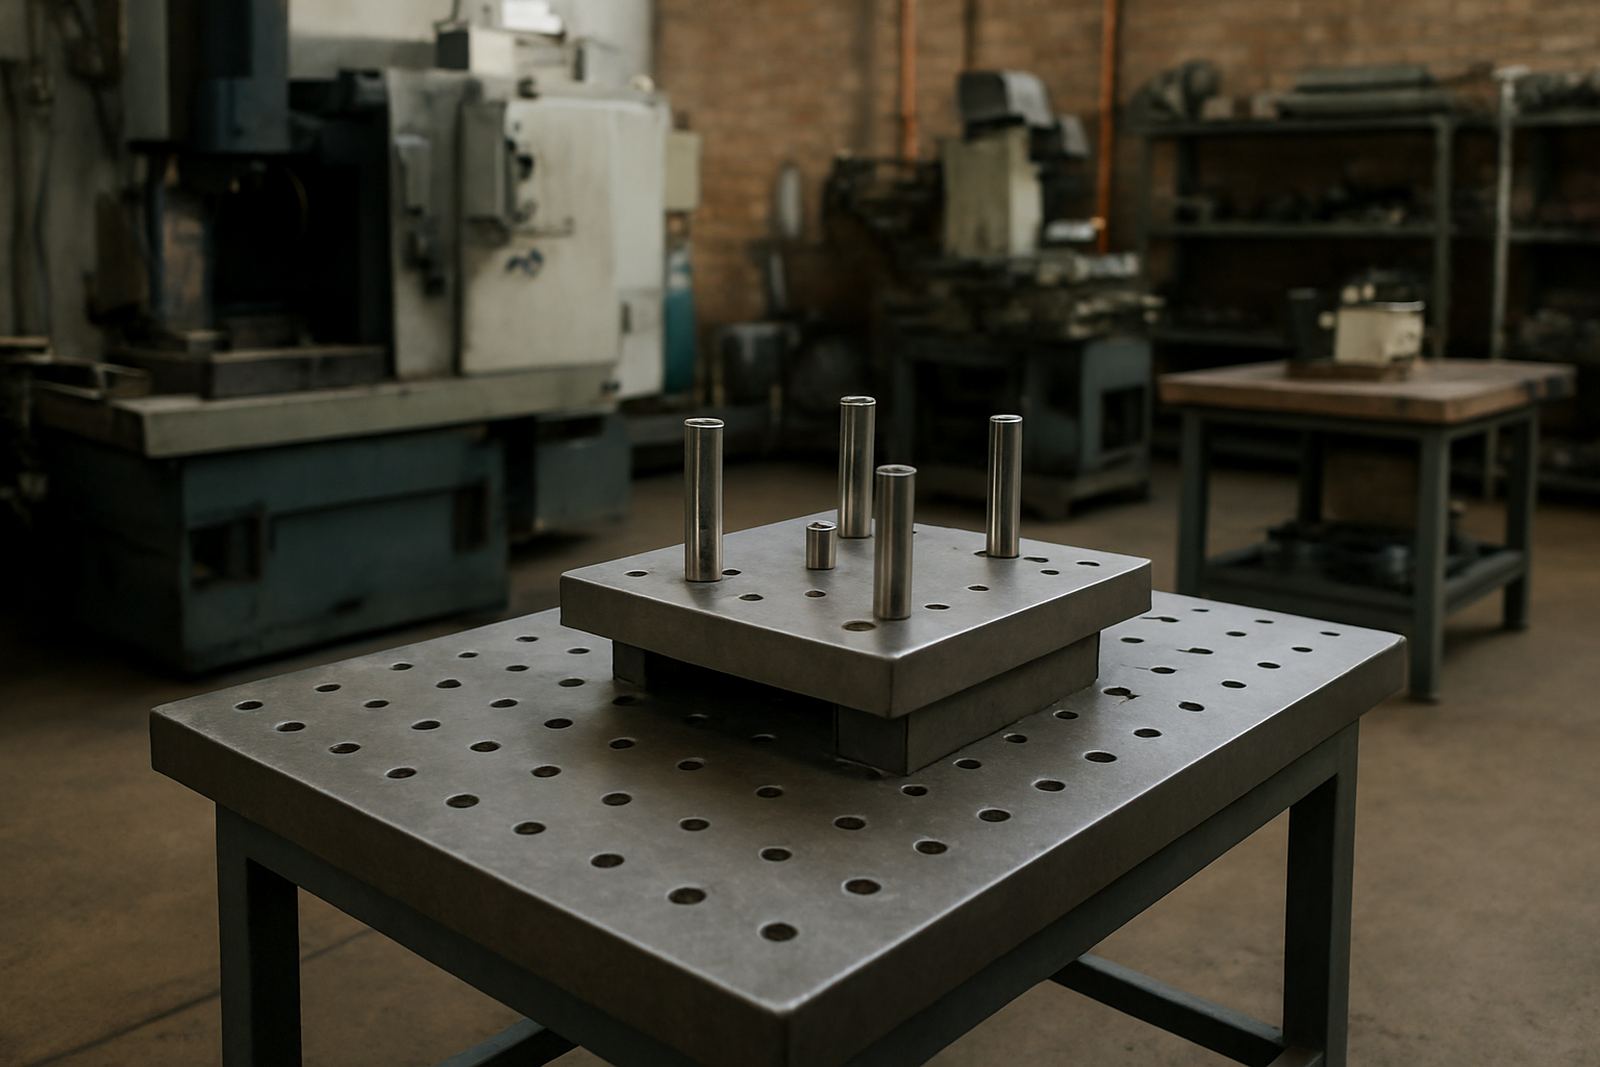
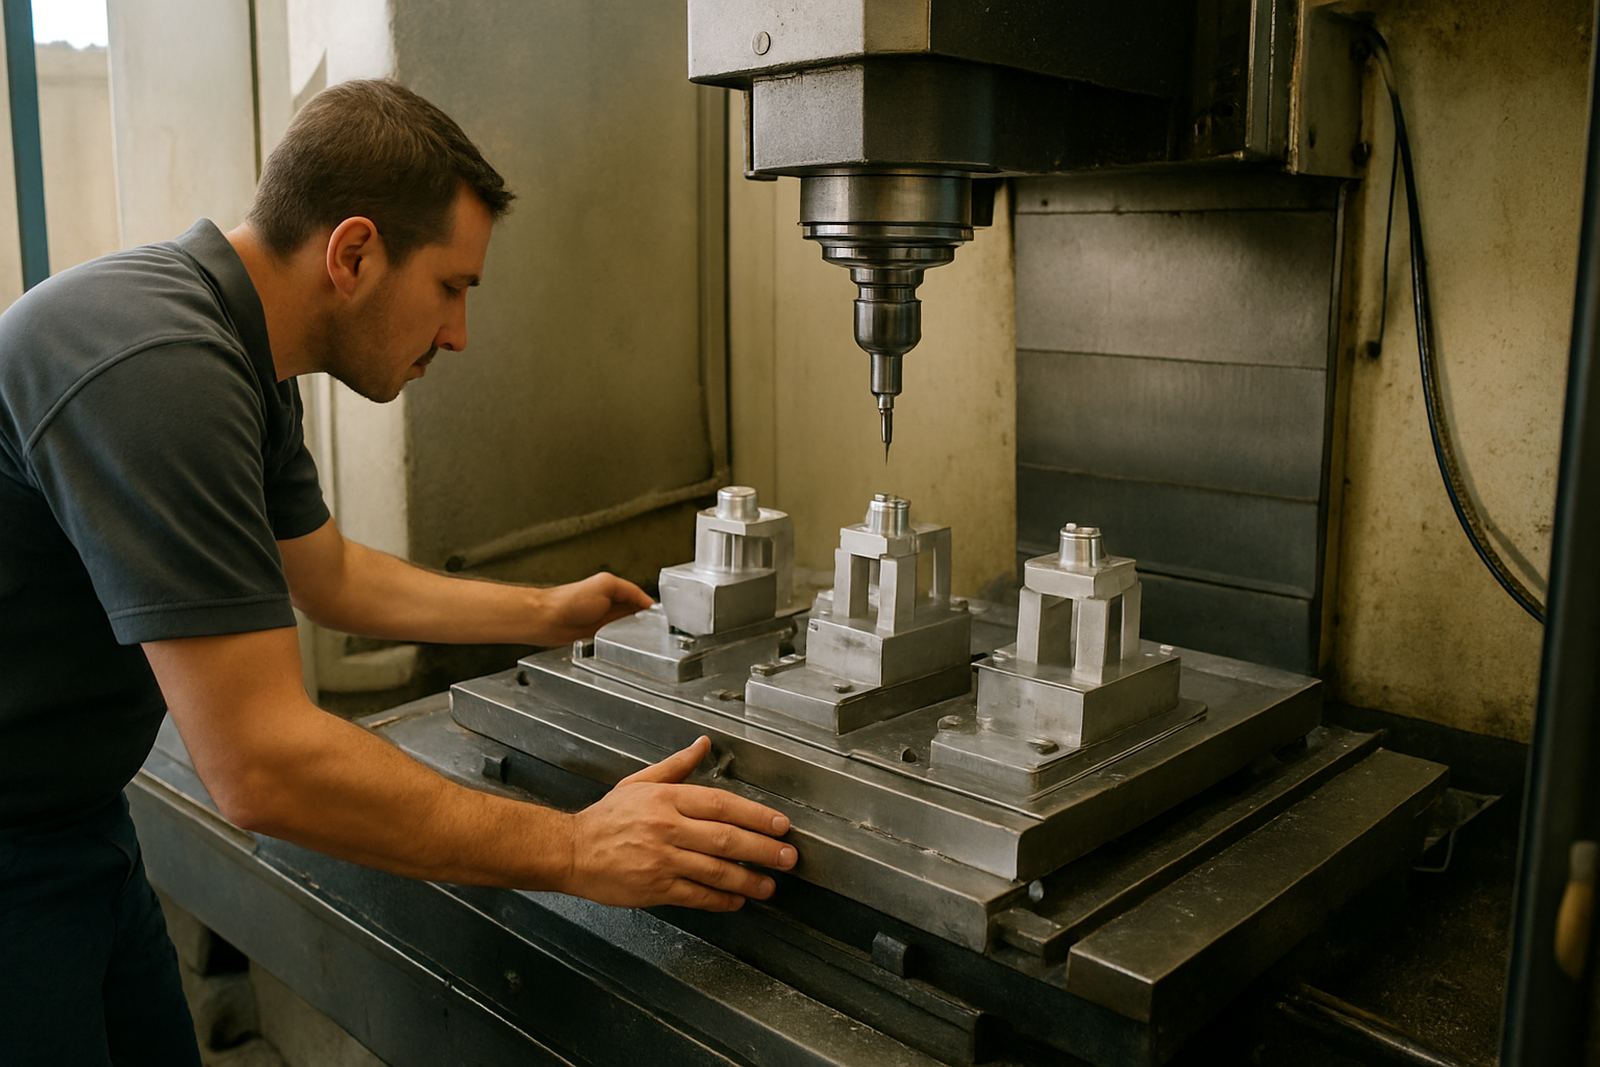
Good holding starts with stability. Use fixturing that supports the part without covering the geometry you need. If the piece must be scanned from several sides, plan the setup so it can be turned and re-datumed without shifting. For awkward shapes, a simple support strategy often works better than a complicated one.
- Leave line of sight to all critical faces
- Keep supports clear of edges that define the part
- Use repeatable positioning for multi-side scans
- Check that clamps do not distort thin sections
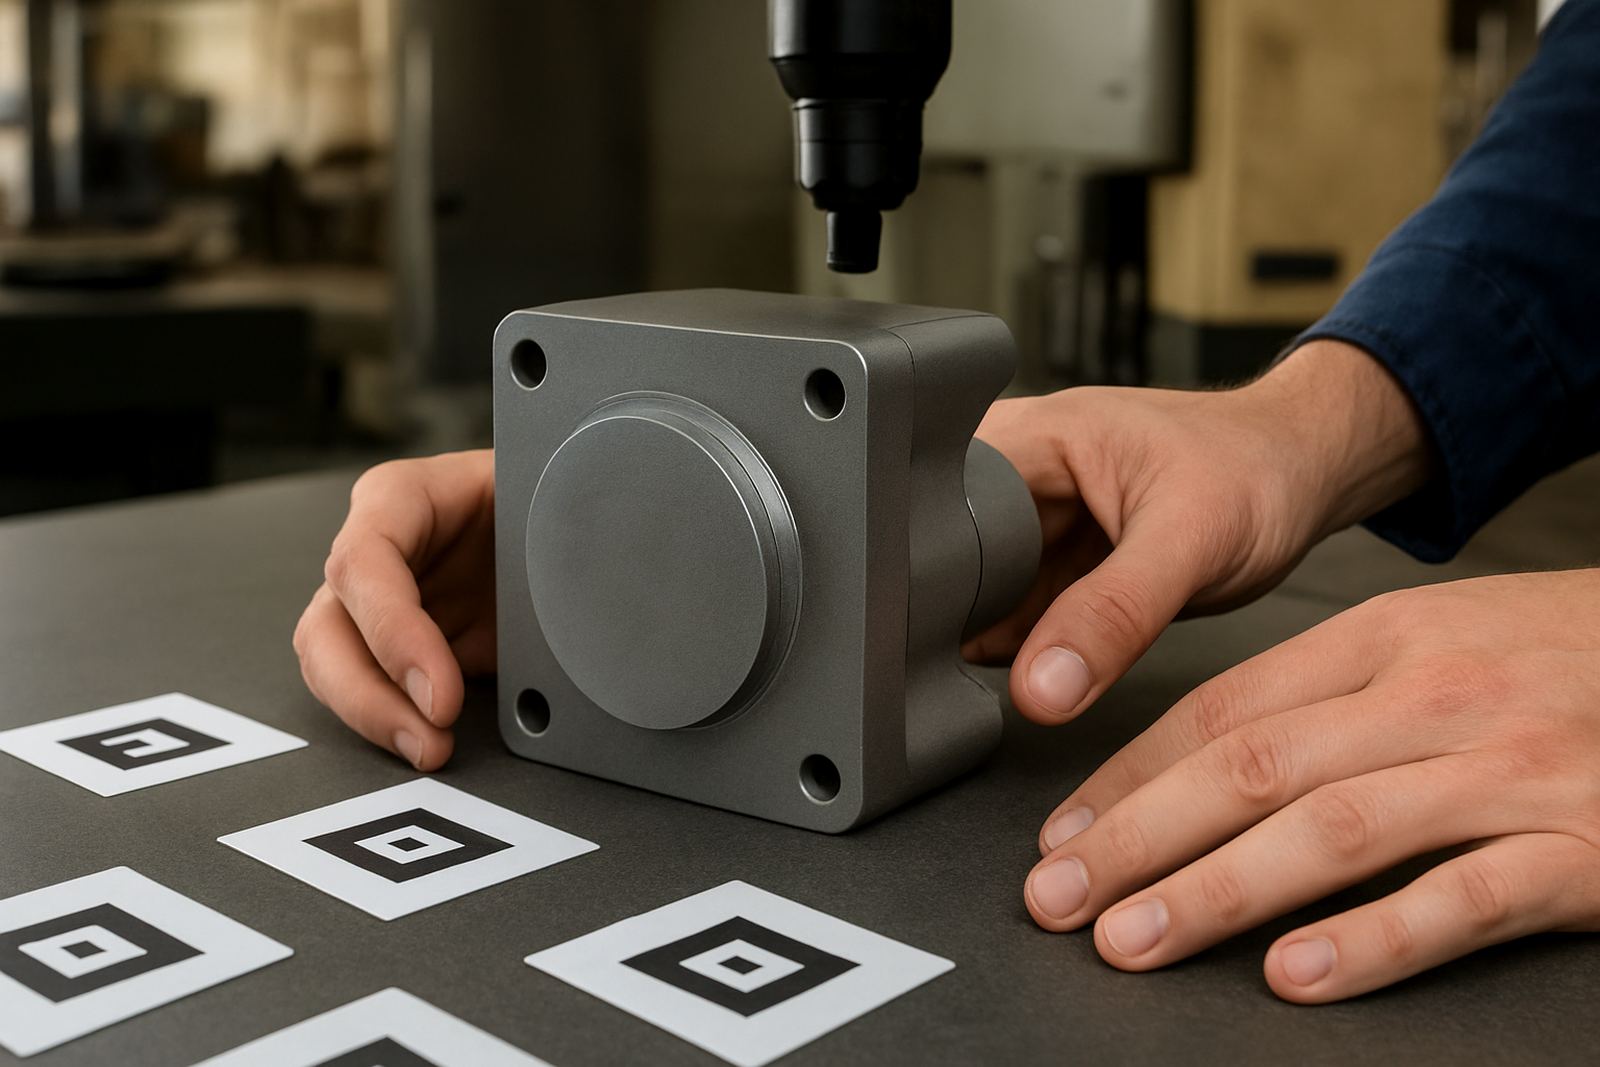
- Mark reference points if the part must be returned to the same position
In Struandale and Markman, where many shops work to tight turnaround times, setup discipline makes a difference. A scanner operator should not have to fight the job before the scan even starts. Good holding also reduces the risk of having to rework the data later.
A local example from a Gqeberha machine shop
Consider a shop in Coega needing to reproduce an older machined cover for a production line. The part has a worn bore, light oil residue and a polished face from years of use. Straight onto the scanner, the reflective areas create gaps and the bore edge reads poorly. The file comes back with missing patches and the engineer is left guessing.
Now take the same part through proper prep. The face is cleaned, the bore is brushed carefully, loose burrs are noted, and a light temporary treatment is used only where needed. The part is seated on a simple fixture that leaves the critical edges open. The scan is clearer, the point cloud is more complete, and the comparison against the old sample is quicker.
That is the value of scanner prep parts. It is not about making the part look perfect. It is about making the geometry visible enough to trust. In shops across Kariega and Despatch, that often means faster turnaround, fewer repeats, and better confidence before machining starts.
What to prepare before booking a scan
A little planning before collection or drop-off helps the whole job move faster. If your part arrives packed with swarf, oil or loose fasteners, the scanner operator spends time on housekeeping instead of capture. If you send a clean, identified part with the important surfaces explained, the session can start properly.
Before the scan, check the part against this simple list:
- Remove loose debris, coolant and grease
- Identify the faces, holes or datums that matter most
- Point out wear, damage or repaired areas
- Confirm whether the part can be coated or must stay untouched
- Make sure the part is complete, including inserts, caps or mating pieces if required
If the part is delicate or large, pack it so it will not shift during transport. For heavier items, collection and delivery can save a lot of lifting and keep the job moving safely. That matters for workshops in Port Elizabeth CBD, the industrial areas and the outer zones where time on the road is still part of the cost.
Practical scanning support for busy workshops
When scanning forms part of a wider manufacturing workflow, the prep stage should fit the shop, not the other way round. Some jobs need scanning after tool regrinding or inspection. Others need a part checked before machining a replacement. In either case, the smoother the prep, the better the data and the quicker the next step.
Tooling works with machine shops that need practical support, not guesswork. That can include scanner calibration, presetting service, holder cleaning, runout checks and other workshop services around the scan job. Where parts are going back into production, the scan prep has to support accuracy from the start. A clean capture saves trouble later.
For reflective, worn or awkward parts, the best approach is often simple: clean it, support it, note the problem areas and scan it under the right conditions. That is usually enough to get reliable results without wasting a shift. If you are working through load-shedding, shifting deadlines or a backlog from Monday morning, that kind of order counts.