Start with the part you have, not the part you wish you had
Reverse engineering begins with a full inspection of the existing component. In many South African workshops the issue is not that the part is missing, it is that the only sample left is worn, chipped or modified by years of quick fixes. That means you need to separate the original geometry from the damage before any machining or scanning starts.
At this stage, record the basic facts: overall length, outside diameters, bore sizes, thread forms, keyways, bolt patterns and surface condition. If the part has seen heat, corrosion or repeated rework, note that too. A component from a sugar mill, a bottling line or a CNC spindle assembly may look simple, but one missed dimension can stop a machine for hours.
- Clean the part properly before measuring
- Mark wear areas, repairs and missing sections
- Photograph both sides with a scale reference
- Check whether the part is a one-off or part of a repeated set
Measure first, then scan where it makes sense
Not every legacy part needs a full scan. For some items, careful manual measurement with the right gauges gives a better starting point than rushing to capture every surface. For other parts, especially complex housings, curved profiles or freeform shapes, scanning is the quickest way to build a usable model.
The practical approach is to combine methods. Use callipers, micrometres, height gauges and runout checks for the critical sizes. Then bring in scanning for geometry that is difficult to capture by hand. In Struandale and Markman, where many shops run mixed old and new machines, this blend often gives the best balance between speed and confidence.
- Use manual measurement for bores, journals and seat faces
- Use scanning for contours, cast shapes and mating surfaces
- Confirm critical tolerances on the bench before modelling
- Do not trust a scan if the sample is badly worn
Decide what must match and what can improve
A straight copy is not always the smartest outcome. Some parts fail because the original design was only just good enough, or because local conditions pushed it beyond its limit. Coastal humidity around Gqeberha can affect stored components, while dust, vibration and power interruptions put extra pressure on production equipment. If a part can be improved without changing fit or function, that should be considered early.
This is where experience matters. A holder, collet, vise jaw or fixture plate may need the same interface dimensions but better material selection, improved hardening or a cleaner finish. The aim is not to redesign for the sake of it. The aim is to restore function and reduce repeat breakdowns.
- Keep mounting points and interfaces unchanged where possible
- Review material choice against wear, heat and corrosion
- Check whether lubrication, clamping or airflow should be improved
- Confirm that any change still suits the machine and operator
Build the model around how the part actually works
A useful reverse engineering model must show more than shape. It must show how the part sits in the machine, how it loads under cutting forces and which features matter for assembly. That is why many failures happen when a part is copied from a visual check alone.
For machine shop work, the important points often include concentricity, runout, parallelism and squareness. If a chuck jaw, fixture or spindle adaptor is being remade, the way it grips and releases is as important as the outside dimensions. In practice, one bad face or one uneven clamping surface can create chatter, poor finish and tool wear.
Before any manufacture starts, the model should be checked against the original part and the machine it serves. That keeps the drawing, the programme and the final part aligned.
From sample part to production-ready result
Once the geometry is understood, the next step is to turn it into a part that can be made repeatably. For a single urgent replacement this may mean CNC machining from solid. For higher volumes, it may mean machining a master, then checking how the finished part behaves in service. In either case, the end goal is a part that fits first time and lasts long enough to justify the effort.
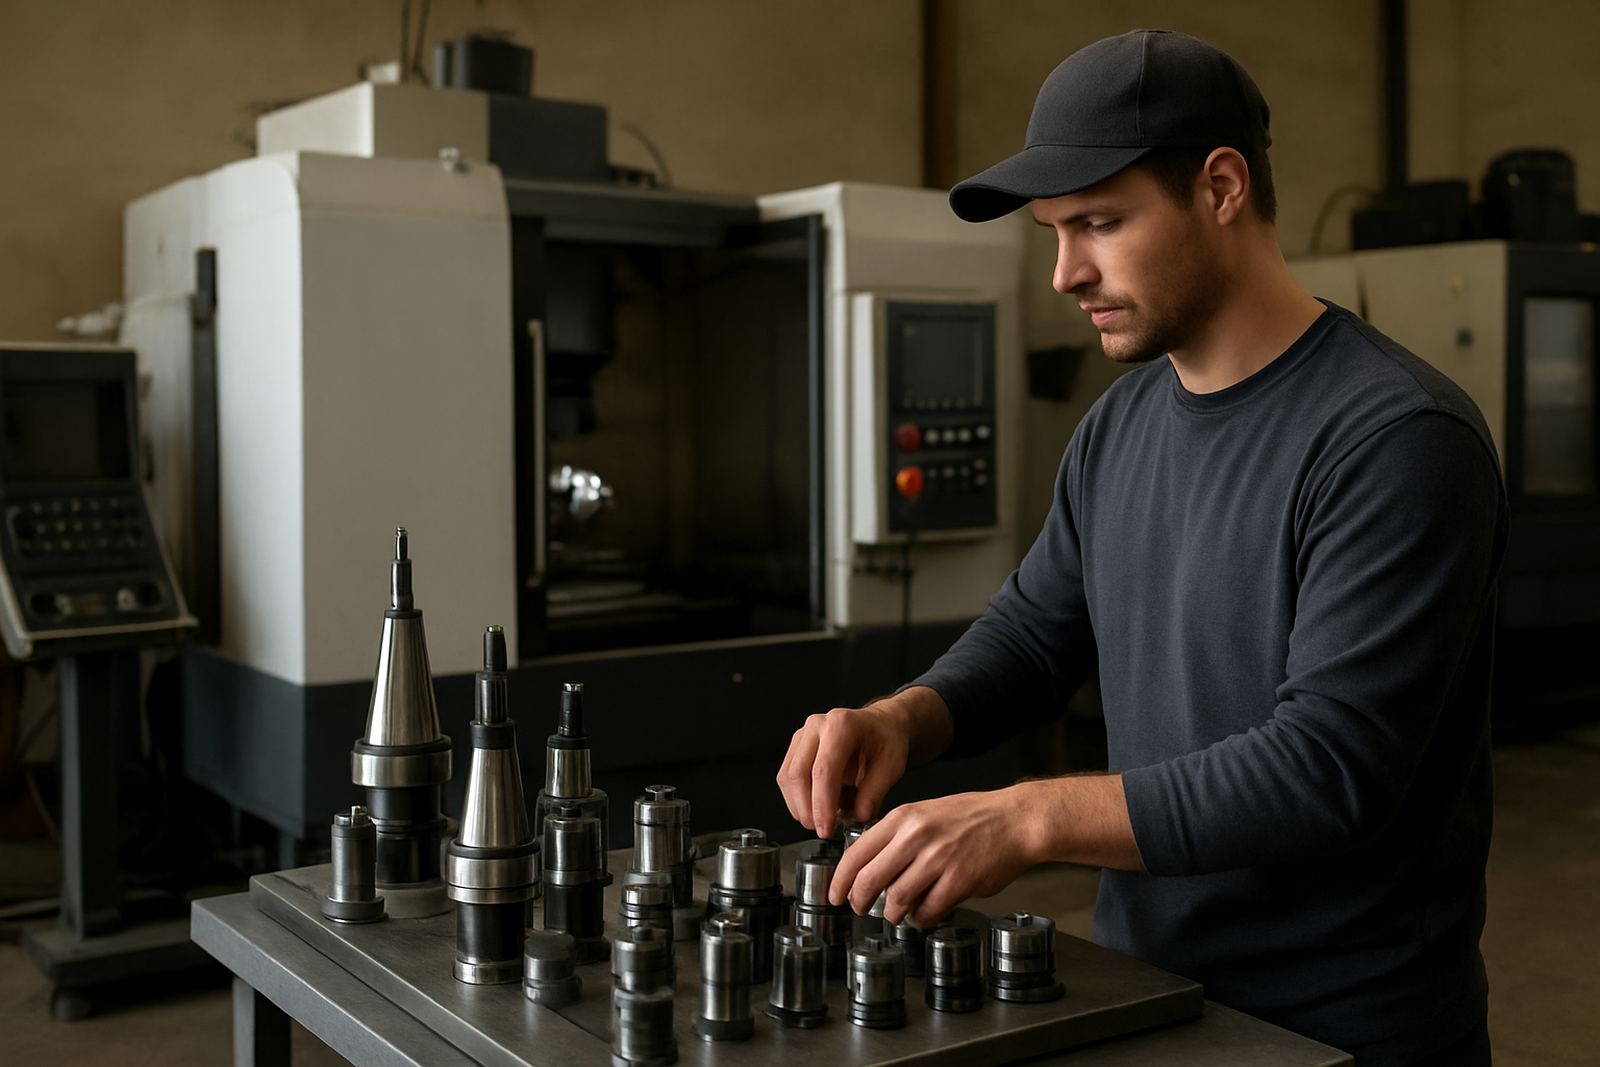
This is also where tool holding and workholding matter. If the part is clamped badly during manufacture, the final dimensions will not be dependable. In Gqeberha machine shops, especially where load-shedding can interrupt cycles, stable set-ups and repeatable fixturing matter a lot because you do not want to restart from scratch after a stoppage.
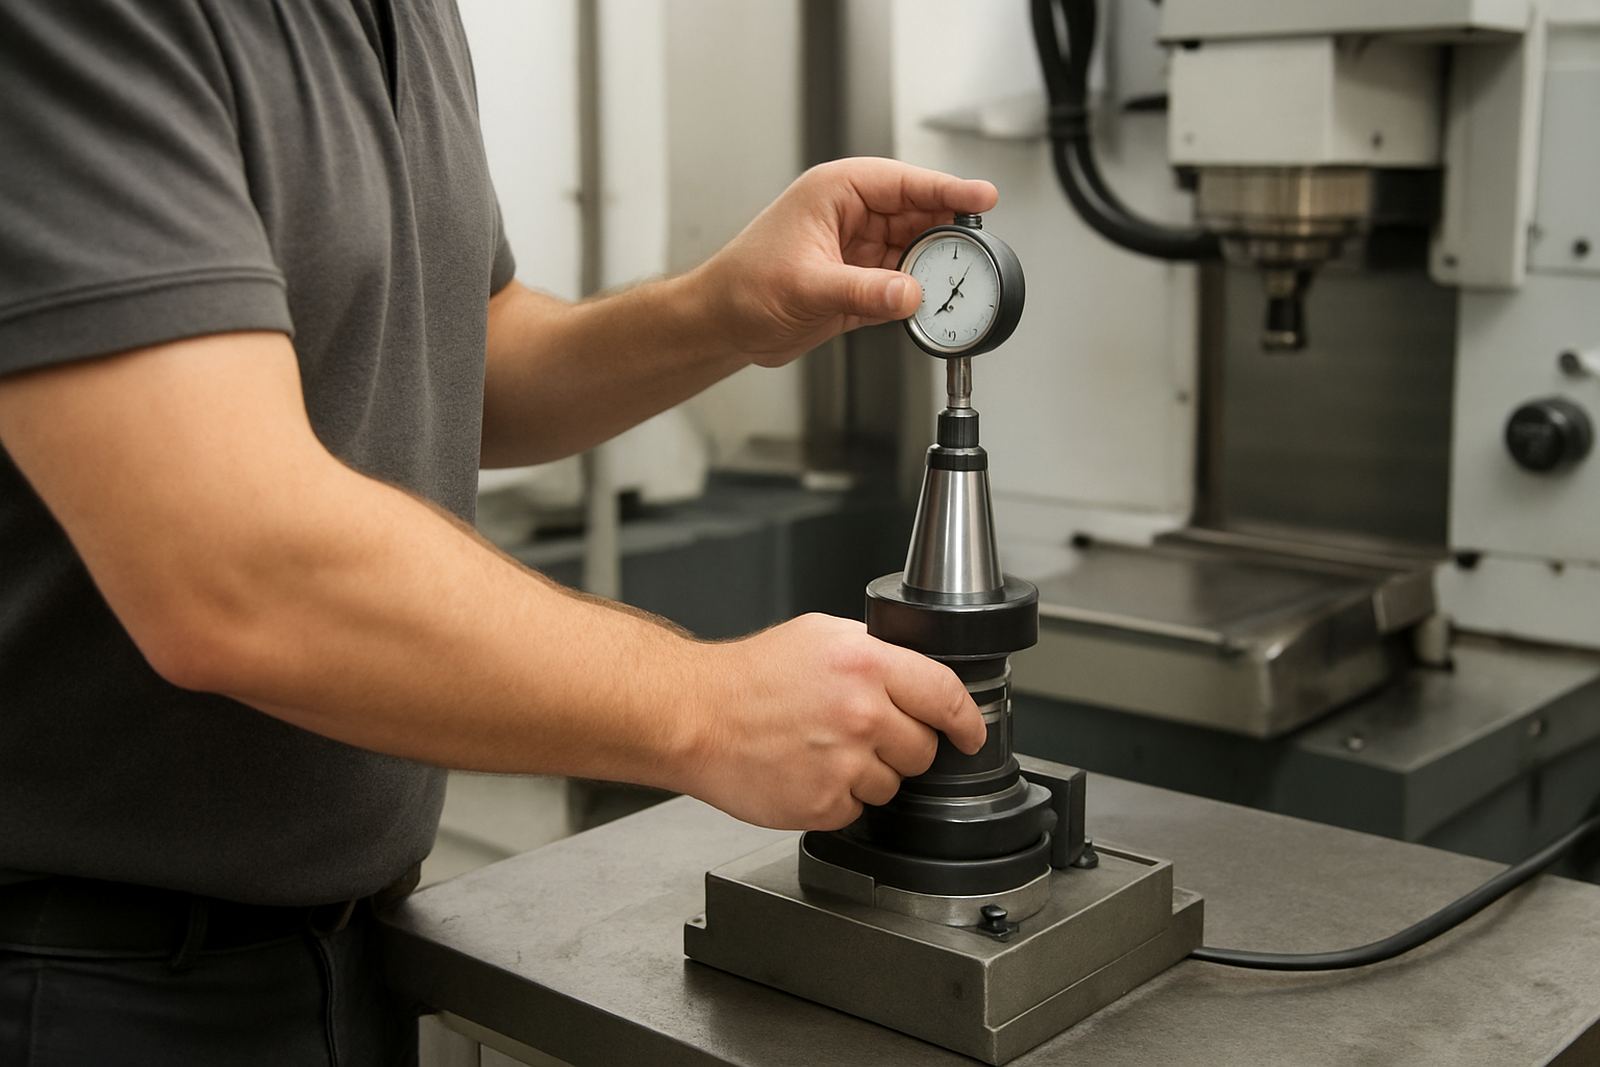
- Use presetting and runout checks before cutting critical features
- Inspect the first article against the measured sample
- Check holding pressure, jaw contact and alignment during machining
- Document the final sizes so the part can be remade later
A local example from an urgent repair job
A practical case in Port Elizabeth CBD involved an older production line with a damaged spacer and no drawing on file. The machine shop still had the worn sample, but the bore had fretting and one face had been skimmed years earlier. The first step was to inspect the part, identify the altered areas and measure only the true reference faces.
After that, the team scanned the profile, confirmed the critical diameters manually and checked the fit against the mating assembly. The replacement was machined from a suitable material, then inspected for runout and face parallelism before delivery back to site. The line was running again without waiting weeks for imported drawings or guesswork.
That approach is typical of reverse engineering done properly: measure carefully, decide what matters, and make the part to suit the job it actually does.
What to prepare before you bring a part in
If you are starting a reverse engineering job, a little preparation saves time and prevents confusion. Bring the sample part, any old photos or notes, and if available the mating component as well. A damaged part is still useful, but the more reference points you have, the better the outcome.
Tooling works with shops across Struandale, Markman, Coega, Kariega and Despatch, with collection and delivery available for busy sites. For items that need inspection, holder cleaning, scanner calibration, tool regrinding or presetting support, the job can be handled in stages so production does not stall longer than necessary.
- Label the part and note where it came from in the machine
- List the fault, wear pattern or failure point
- Tell us if the part must match an existing assembly exactly
- Include any deadline driven by shutdowns or production shifts