
Why resin finish matters in a working shop
Resin printing is often chosen for detail, but the real test is whether the part can be handled, measured and assembled without problems. A model can look clean in the tray and still show support scars, soft corners or warped faces once it has been washed and cured. That is why finish needs to be planned before the print starts, not after the job is already in your hands.
In a machine shop or product development room, the surface quality of a resin print affects more than appearance. It affects sealing faces, alignment features and whether a prototype can be used for checking fit against a machined component. If the part is for customer approval, a rough finish can send the wrong message even when the dimensions are close.
Here in Gqeberha and across the Eastern Cape, many workshops print short-run jigs, enclosures, covers and inspection aids. Those parts may go from the printer straight to a fitting bench, so the finish has to be practical. A smooth surface saves time on hand work, but only if the print is supported and cured correctly from the start.
What support marks really tell you
Support marks are normal on resin prints, but they need to be managed according to the part function. The small nubs left behind after support removal can be acceptable on a hidden face, yet they become a problem on visible outer skins, mating edges and precision surfaces. If the part has fine text or shallow detail, support placement can also wash out those features.
To get a better finish, the support strategy should match the geometry. Heavy supports may hold a large section safely, but they leave deeper scars. Light supports reduce marking, though they may struggle on tall thin sections or parts with a lot of cross-sectional area. The balance changes with every job, and there is no single setting that works for all prints.
- Place supports on non-critical faces where sanding is possible.
- Avoid support points on sealing lips, holes and datum surfaces.
- Use more supports on long overhangs to reduce sagging.
- Check for trapped resin in hollow sections before curing.
When a part is printed for a jig or fixture, support marks on the locating face can throw off the whole setup. A small blemish may not look serious, but it can affect repeatability. That is why the finish should be judged against the job’s purpose, not only on visual appeal.
Wash, dry and cure in the right order
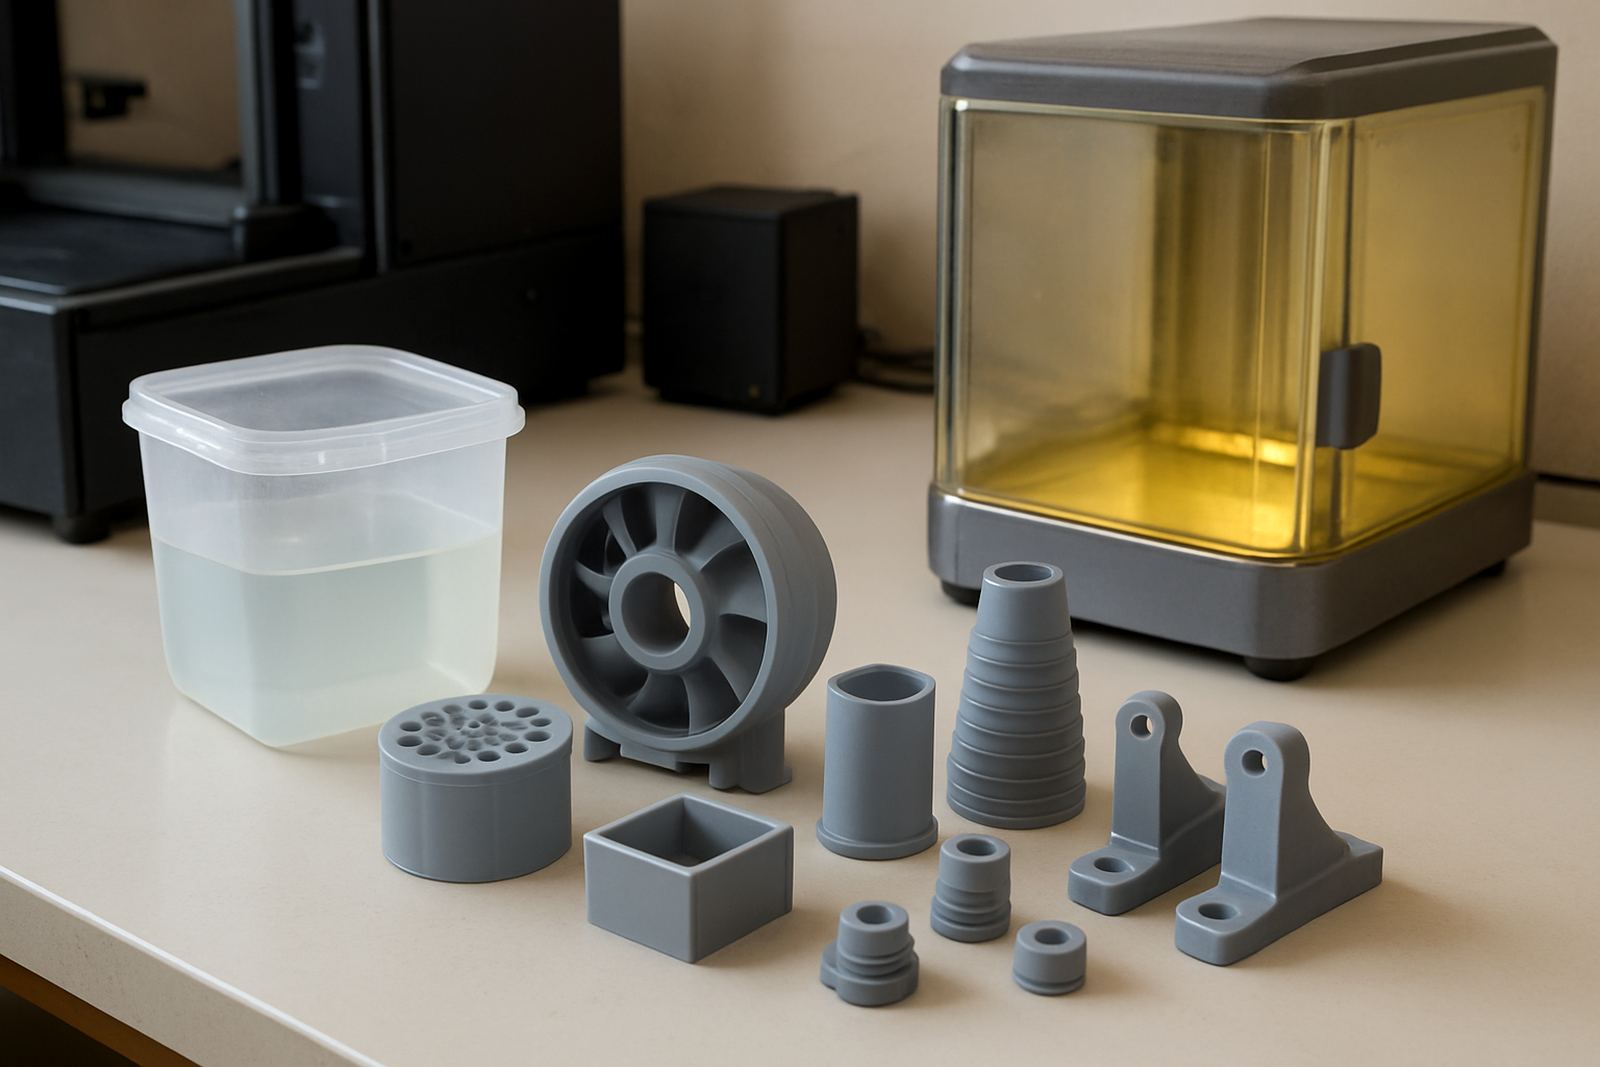
Post-processing has a direct effect on surface quality and part strength. If uncured resin stays on the surface, it can leave a sticky film, soften detail and attract dust. If a part goes into curing while still wet from wash fluid, you can get cloudy patches or uneven surface texture. The order matters, and rushing it usually costs more time later.
After washing, allow the part to drain fully and dry where air can reach all sides. Hollow items and enclosed cavities need extra care, because trapped liquid can spoil the finish from the inside out. In humid coastal conditions, drying can take longer than expected, especially in summer. That is one reason shops near the Gqeberha coast often plan a little more time for post-processing than inland users.
- Wash until the surface no longer feels slippery.
- Let the part drain before moving it into the cure stage.
- Rotate hollow parts so liquid does not pool at the base.
- Keep curing times consistent for the resin being used.
Over-curing can make some parts brittle, while under-curing leaves them soft and prone to marking. The right cure cycle depends on wall thickness, resin type and the load the part will carry in service. For example, a cover for a handheld tool may only need a neat finish, but a bracket or clamp component needs reliable strength as well as good appearance.
Surface quality depends on print orientation too
Orientation has a strong influence on finish. A sloped face may show fine stepping that disappears once it is lightly sanded, while a vertical face can show more visible support points. If the job has a display side and a functional side, orient the part so the important surface gets the cleanest result possible.
Layer lines on resin prints are usually finer than on many other additive processes, but they still show under angled light. This matters when the part will be used in front of a client, or when you need to compare a prototype to a machined component. A print that looks acceptable in flat light can reveal its faults once it is placed on a bench under workshop lighting. Sometimes the difference is tiny, but it changes how the job is judged.
For parts with long flat faces, it helps to reduce the area exposed to peel forces and support the part so the face is not dragged by too many contact points. That can improve the final finish and reduce the amount of manual cleanup needed later. It also lowers the chance of distortion on thin sections, which is where many resin jobs fail quietly.
When a smooth print still needs hand finishing
Even a good resin print usually needs some manual work. A light sand with fine paper can remove support stubs, soften sharp edges and improve the final look. The key is to work carefully so the part is not overheated or rounded off too much. On detailed items, a few careless passes can remove lettering or alter small features.
Hand finishing is often needed where the part must fit another component. Holes may need a small clean-up, edges may need de-burring, and mating faces may need checking on a flat surface. If you are preparing a prototype for a machine shop customer, the finish should be tidy but not overworked. Too much filler or polishing can hide issues that should have been caught during the print stage.
- Use fine sanding where the part will be visible.
- Check hole sizes after curing, not before.
- Avoid aggressive filing on thin lugs and tabs.
- Keep a record of what finish worked for the next run.
There is also a practical limit. Some parts are meant to be functional rather than glossy, and that is fine. A neat matte finish can be perfectly acceptable if the dimensions are right and the surface is clean. In many workshops, the job is to make the part fit and work first, then improve the appearance where it matters.
A local example from a Gqeberha job
A Struandale workshop making a prototype cover for a small fixture needed a part that looked presentable for a client meeting and also fit over a machined base plate. The first print came out with support scars on the wrong face, and the part needed more sanding than expected. The second version was oriented differently, with supports moved to a hidden edge and a longer drain time before curing. That simple change cut the clean-up time and gave a better fit on the base plate.
That kind of job is common in Gqeberha because workshops often need parts quickly for approval, testing or short-run use. If the finish is poor, the part can still be measured and corrected, but it wastes time and may delay a machine setup. When production is already under pressure and load-shedding has interrupted the day, that extra time becomes costly.
The lesson is simple. Resin print finish starts with planning, then support placement, then careful washing and curing. If each step is treated as part of the job instead of an afterthought, the final result is cleaner and more reliable.
Getting repeatable results from one print to the next
Consistency matters when the same component needs to be printed more than once. Keep notes on orientation, support style, wash time and cure time so the next batch matches the first. This is especially useful for machine shops that need repeat jigs, covers or inspection aids and cannot afford guesswork. It also helps when a part is being reprinted for a customer after a design change.
For workshops serving areas like Markman, Coega, Kariega, Despatch and the Port Elizabeth CBD, the aim is not a showroom finish. The aim is a dependable finish that suits the part’s use, with enough care to avoid rework and enough discipline to keep the process repeatable. If the print is going into service near salt air or in a busy production area, the final cure and clean-up need to be right the first time. That is what keeps a resin part useful, not just neat.
When the finish is planned properly, resin printing becomes a practical workshop tool rather than a trial-and-error process. The part comes off cleaner, the fit is better and the post-processing stage stops eating into the day. That's the difference between a print that only looks good and one that earns its place on the bench.