Why five axis clamping is about access first
Five axis machining can cut a part in fewer setups, but only if the clamping method gives the machine proper access to the faces that need work. If a jaw, fixture plate or clamp arm blocks the tool path, the job quickly turns into hand finishing, extra repositioning and lost cycle time. The aim is not just to hold the part tight, it is to hold it in a way that keeps the critical surfaces open.
For job shops in Gqeberha, Kariega and Coega, this matters on short runs where changeover time is part of the cost. A part that can be loaded once and machined from five sides without drama gives better control over tolerances, especially on components with pockets, angled faces and drilled patterns. Good clamping is not only a machining issue, it is a planning issue.
Choose the fixture around the cutter path
The first question should always be: where does the tool need to go? Start by mapping the longest cutter, the probe if used, and any possible swivel positions of the spindle. On a five axis machine, even a low profile clamp can become a problem when the head tilts or the table rotates. The clamping setup should stay below the danger zone and keep clear of the cutter through the full movement range.
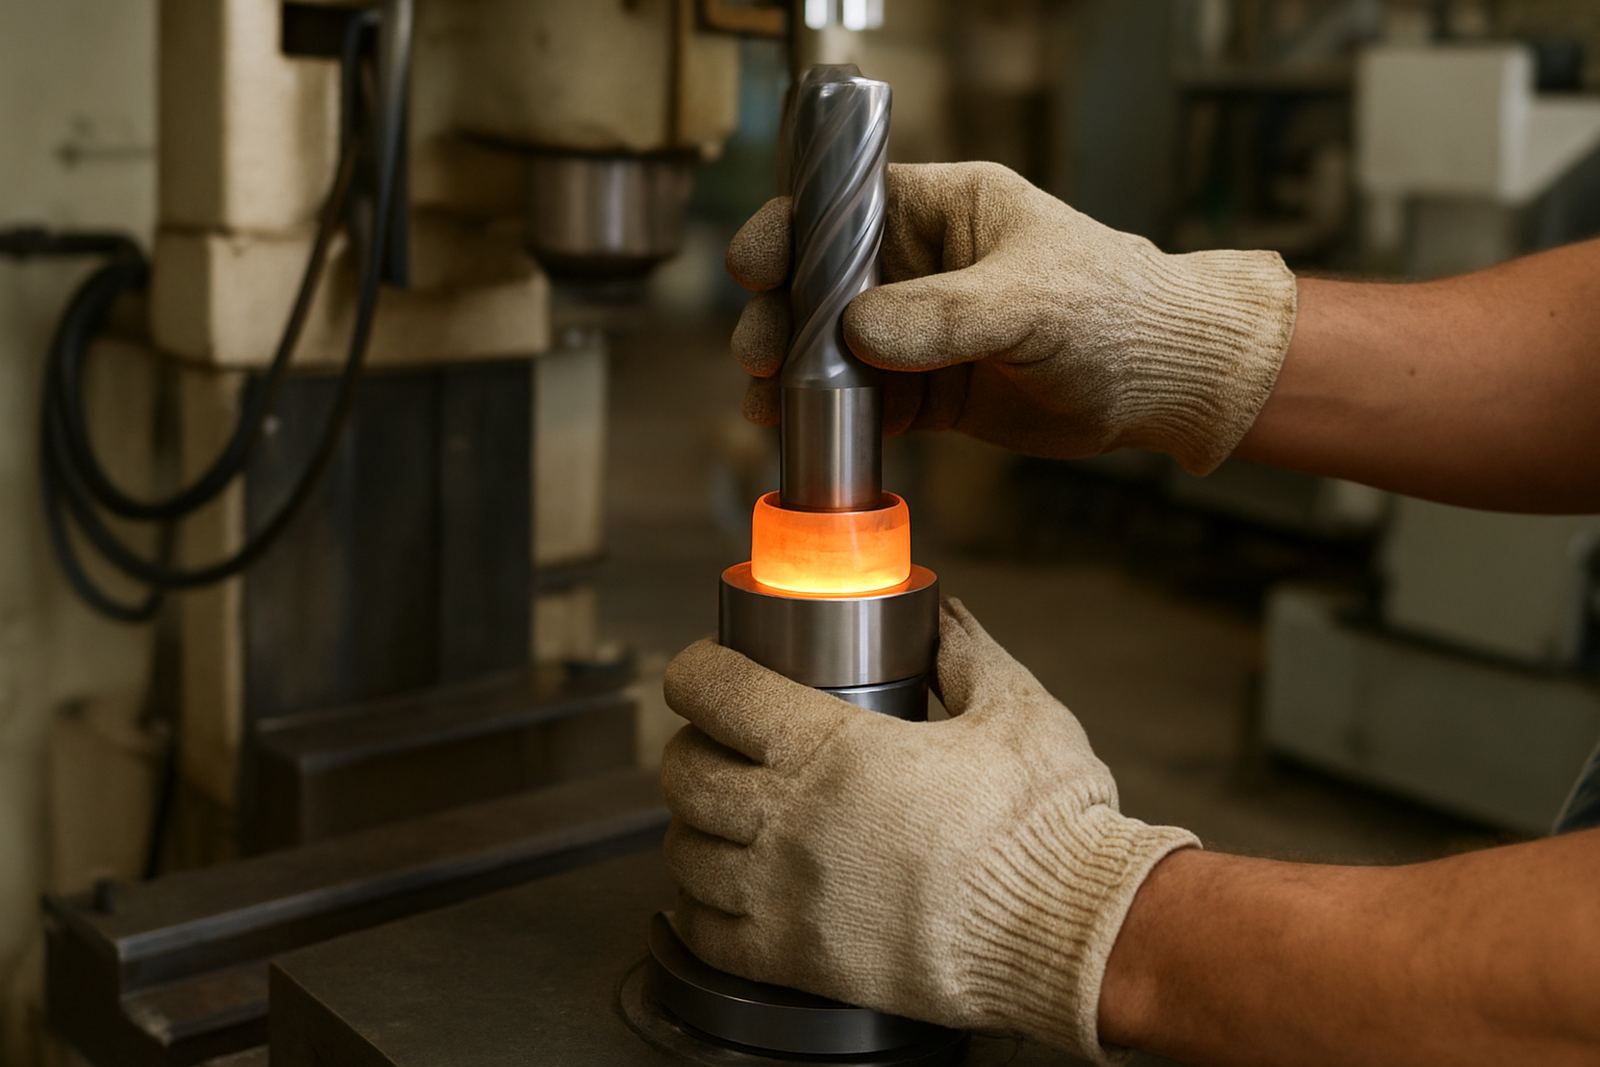
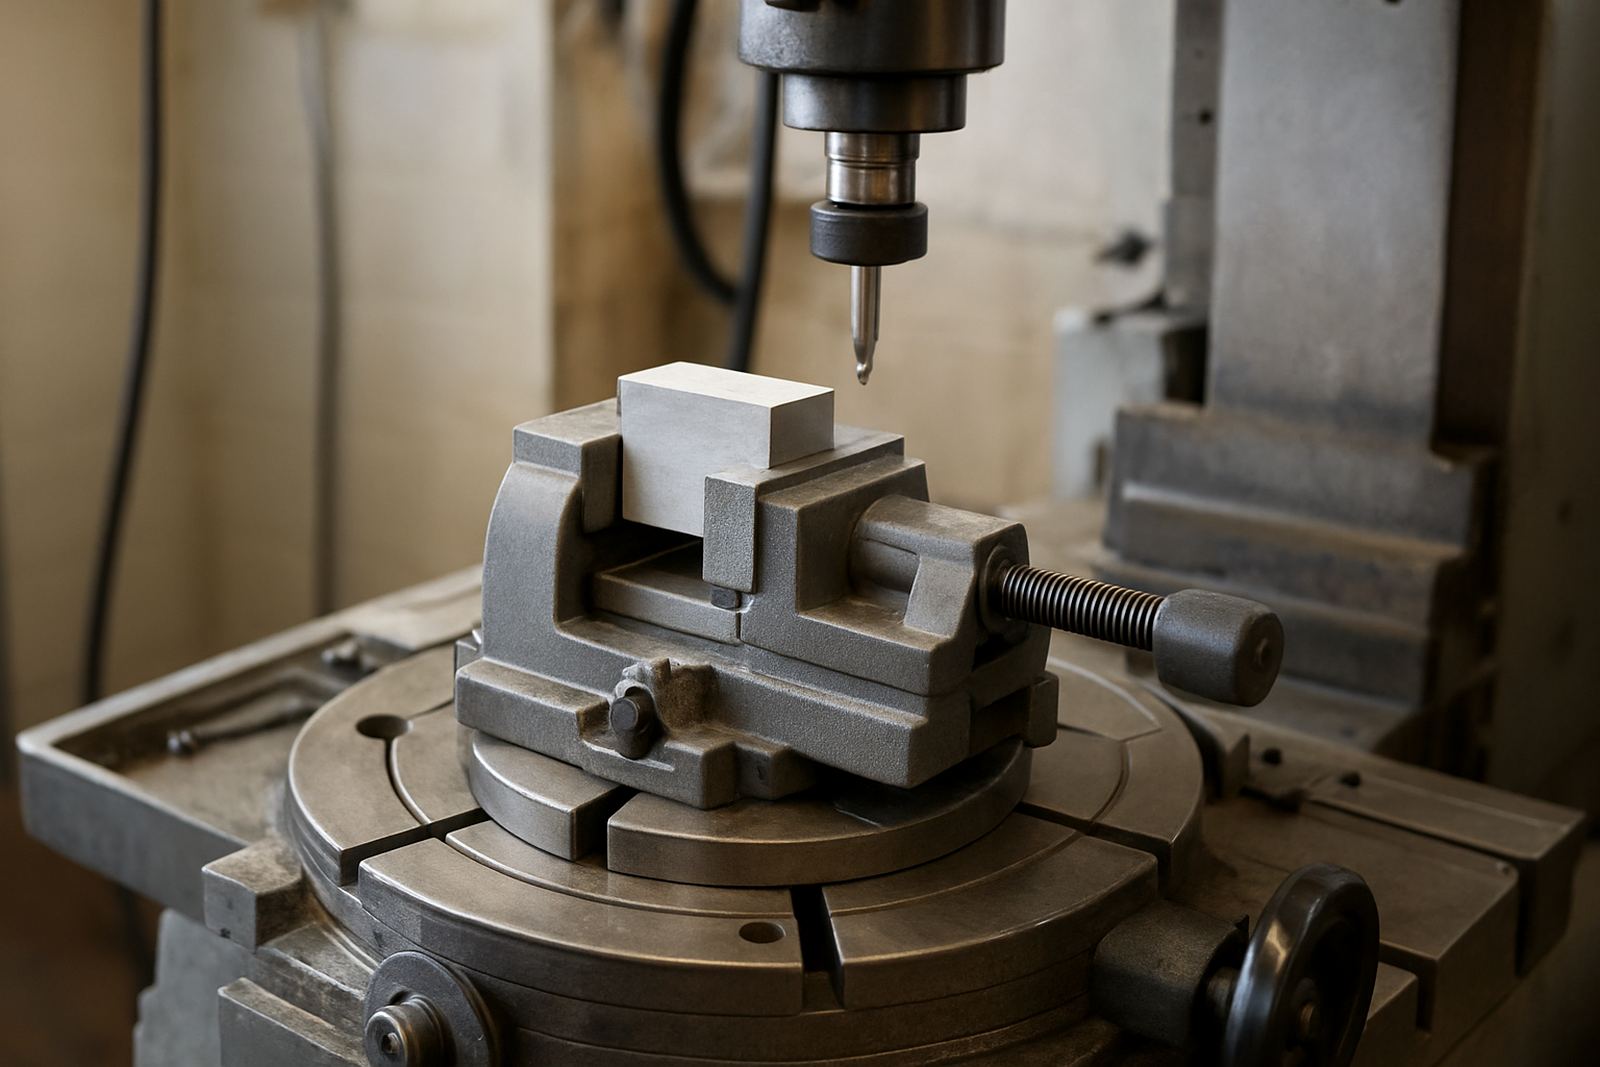
In practice this often means using smaller contact points, custom jaws, stepped supports or modular plates instead of a large general purpose vice. On thin or awkward parts, soft jaws may be better than hard gripping faces, because they can be machined to the exact part shape and give more support where the job needs it.
- Check the full machine envelope before cutting metal
- Allow room for probe access and tool length
- Keep clamps out of the swing path during rotation
- Use soft jaws or custom supports where part geometry demands it
Rigidity still beats cleverness
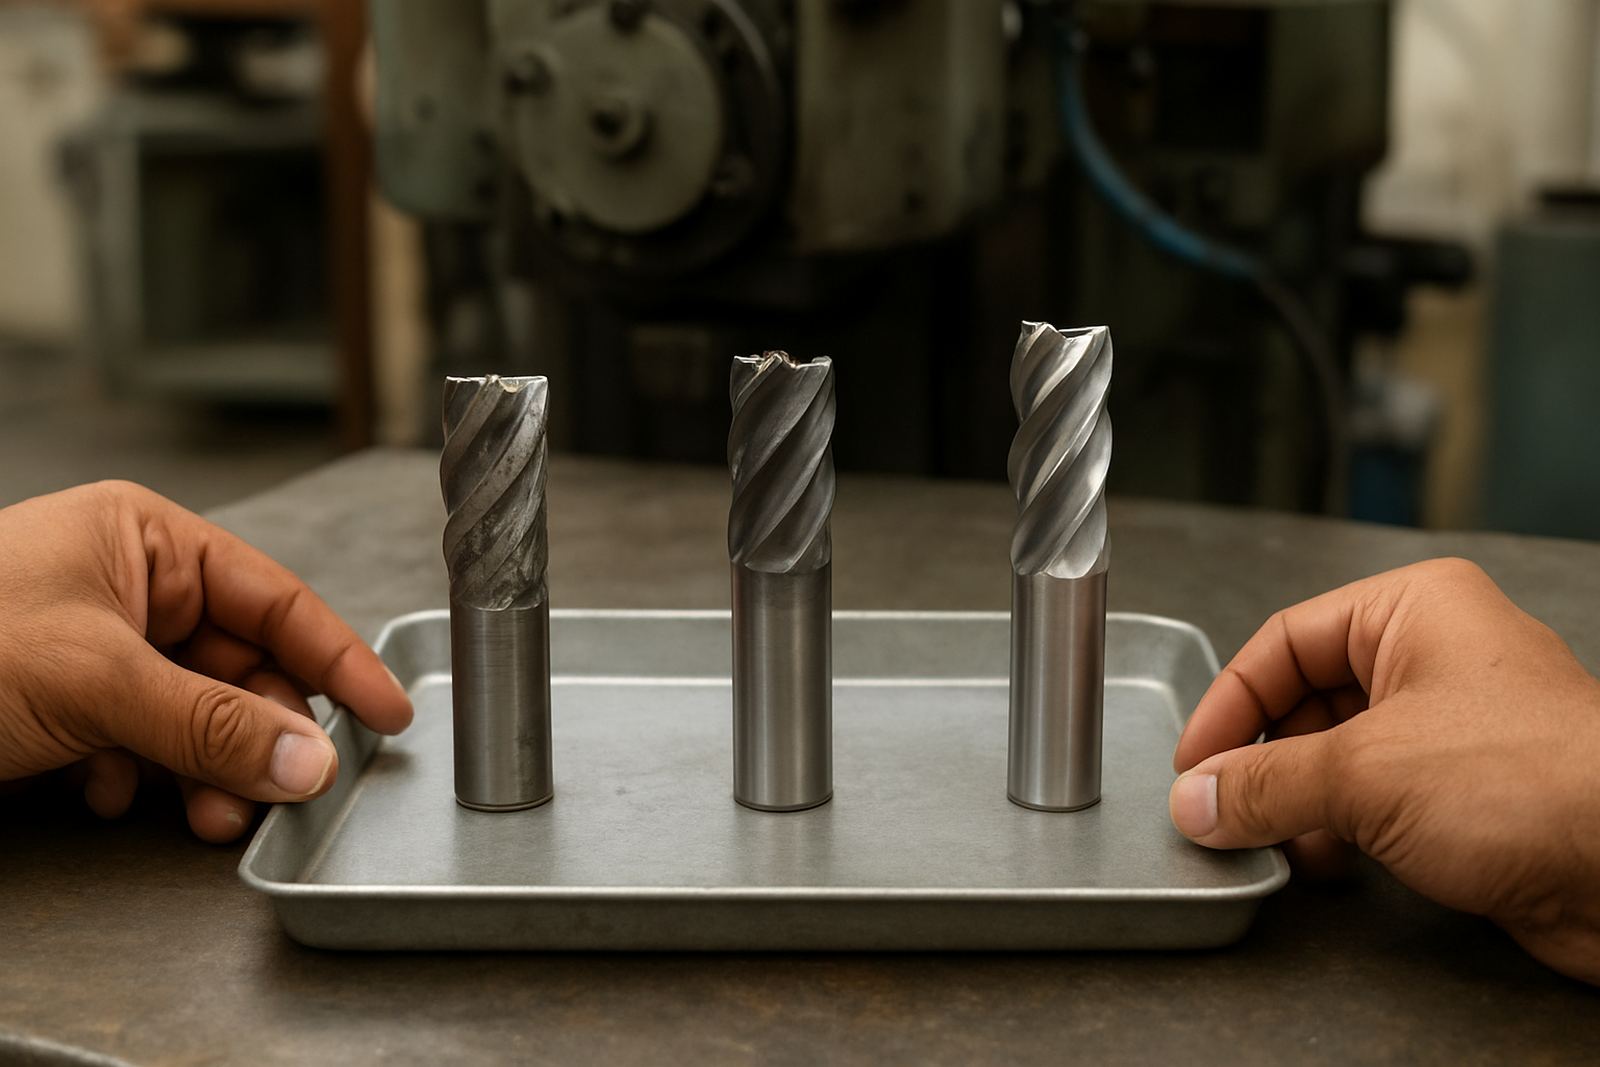
Five axis access is useful only if the part stays still under load. If clamping is too light, the cutter will pull the component, and that movement shows up in taper, chatter marks and poor size control. This is common on aluminium parts with deep pockets, but it can also happen on stainless steel and mild steel when the clamping area is too small.
A practical approach is to support the part as close as possible to the cutting force. If the job is tall and narrow, reduce the overhang. If the part has a thin wall, distribute the pressure over a wider area. In some cases, a vacuum setup or fixture with locating pins may be better than a traditional vice. The right answer depends on the geometry, the material and how much stock must be removed.
Local shops working on repeat work for automotive, marine and general engineering often see the same pattern: the part is accurate on the first side, then drifts after the second or third side because the setup is fighting the tool. Better rigidity on the clamp side saves more time than an extra finishing pass ever will.
Plan for repeatability when the machine runs unattended
Unattended machining only works when the fixture repeats exactly. If parts are loaded by different operators on different shifts, small variations in clamp pressure or stop position can throw out the process. On five axis work, that can mean one job runs cleanly and the next one scrapes a tool, misses a datum or shifts a hole position by enough to cause rejection.
To reduce that risk, use clear locating surfaces, positive stops and consistent torque on the clamping hardware. If the same part is being produced in batches, mark the load direction and keep the setup notes beside the machine. That sounds basic, but it prevents costly errors during night shifts, especially when load-shedding cuts into the shift plan and work has to restart after a power interruption.
- Use fixed locators so the part seats the same way every time
- Record clamp torque and clamp order for repeat jobs
- Keep setup notes with the fixture, not only on paper
- Confirm zero position after power interruptions
How coastal conditions affect clamping hardware
In Gqeberha and other coastal areas, humidity and salt in the air can shorten the life of bolts, studs, clamps and fixture plates if they are not cleaned and stored properly. Corrosion on a locating face or jaw pad can create tiny high spots that change the setup. That is enough to affect finish and position on precision work.
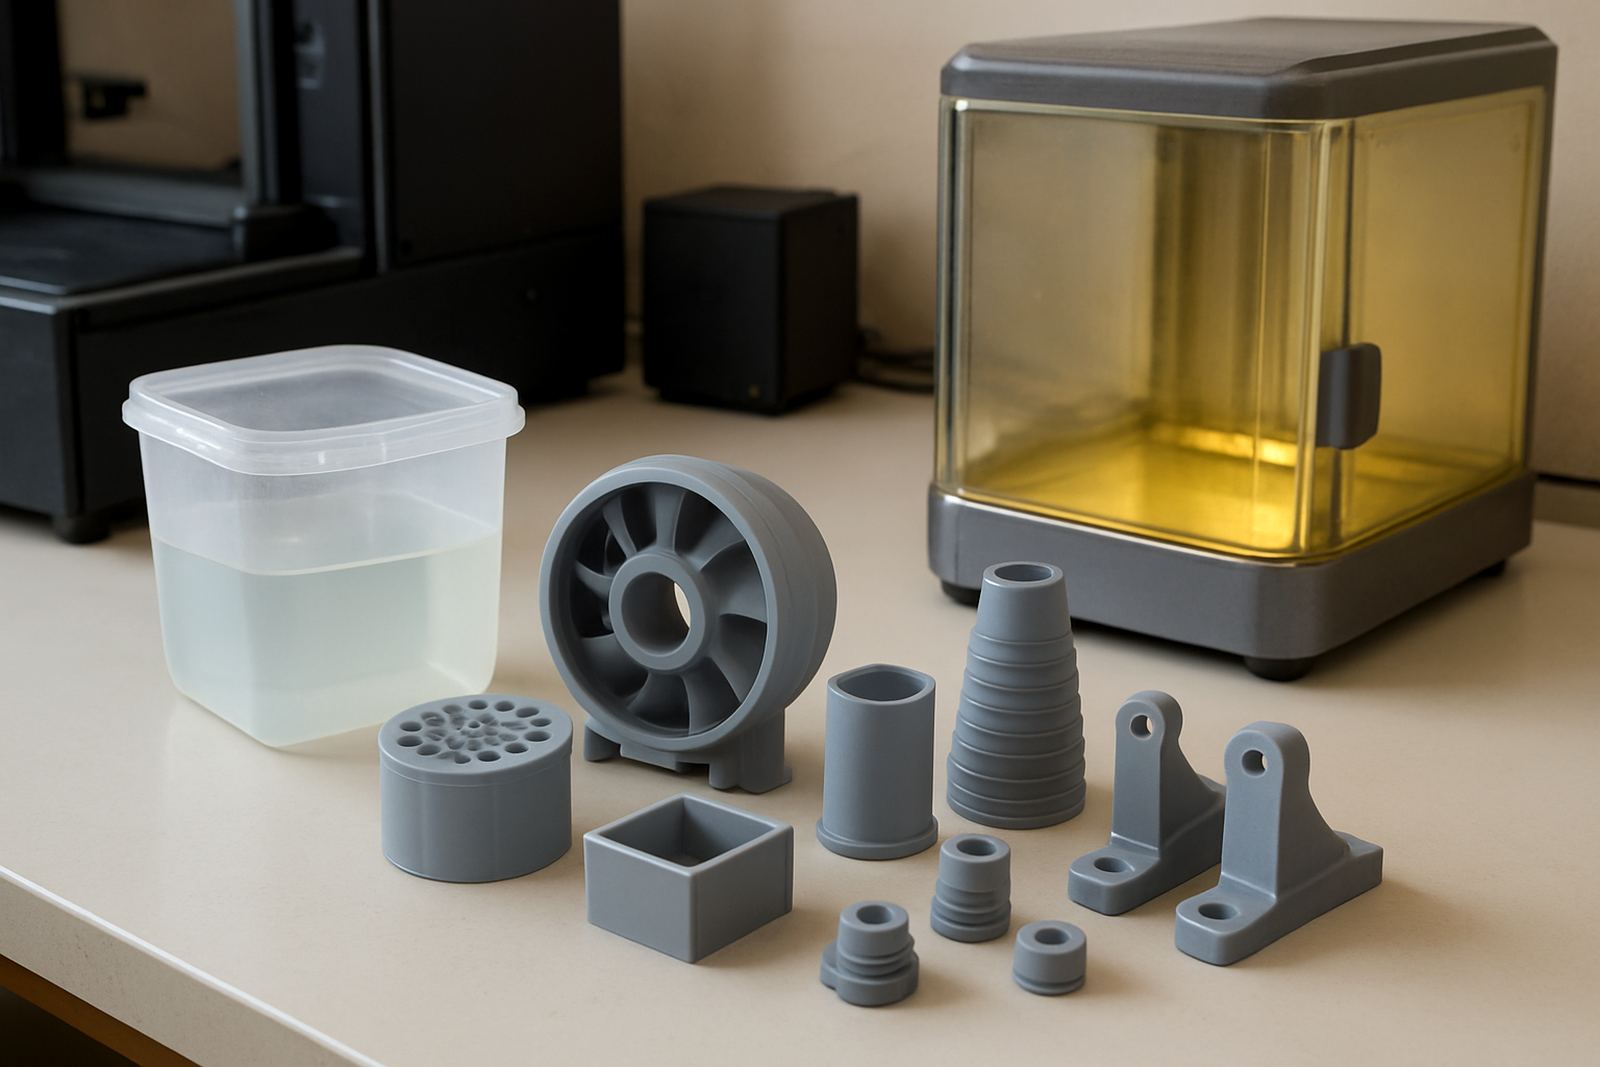
Regular holder cleaning, inspection and runout checks help, but the same discipline should apply to clamping hardware. Wipe down fixtures after use, inspect contact areas for burrs, and keep moving parts lightly protected against moisture. If the shop also runs 3D printing or scanning alongside machining, keep those areas separate from cutting fluid mist and dust so the equipment stays accurate over time.
For machine shops near Struandale, Markman and Coega, the practical habit is simple: do not leave fixtures exposed on open benches. Store them dry, label them, and check for damage before the next production run. A small bit of rust can become a big tolerance problem.
When to ask for application support on a tricky job
Some parts are straightforward, but others need a proper setup review before the first cut. Deep cavities, multi-face aerospace style components, awkward castings and parts with limited clamping land all need a different approach. It is often cheaper to spend 20 minutes on fixture planning than to scrap one part or break a cutter.
That is where application advice, presetting and inspection services help. A good setup review looks at tool reach, jaw clearance, clamping pressure, part datum choice and how the job will be loaded and unloaded. If the machine shop in Port Elizabeth CBD or Despatch is working on repeat production, this kind of support can also help standardise the process across operators and shifts.
At Tooling in Struandale, the practical view is simple: clamping should protect access, accuracy and cycle time at once. If one of those is missing, the setup needs a rethink before the chip starts flying.