
Start with the machine, not the cutter
Before a face mill goes near the job, check the machine condition. A clean taper, sound spindle bearings and correct pull force matter more than most people think. If the spindle has a bit of play, the finish on steel will show it immediately, and cast material will make the problem worse because the cutter is already dealing with an uneven surface.
In a busy shop in Struandale or Markman, operators often move straight to the tool list and skip the basics. That is where trouble starts. Check coolant delivery, table movement, axis backlash and the full clamping cycle. If the machine has been standing during load shedding, warm it up properly before cutting. Cold oil and a cold spindle can give false readings and poor first parts.
It also helps to listen to the machine. A change in bearing noise, an uneven spindle run, or a small knock when engaging feed is worth investigating before production. On face milling work, a small issue can turn into scrap very quickly if the job is large or the material is hard on tools.
Choose the holder and cutter for the material
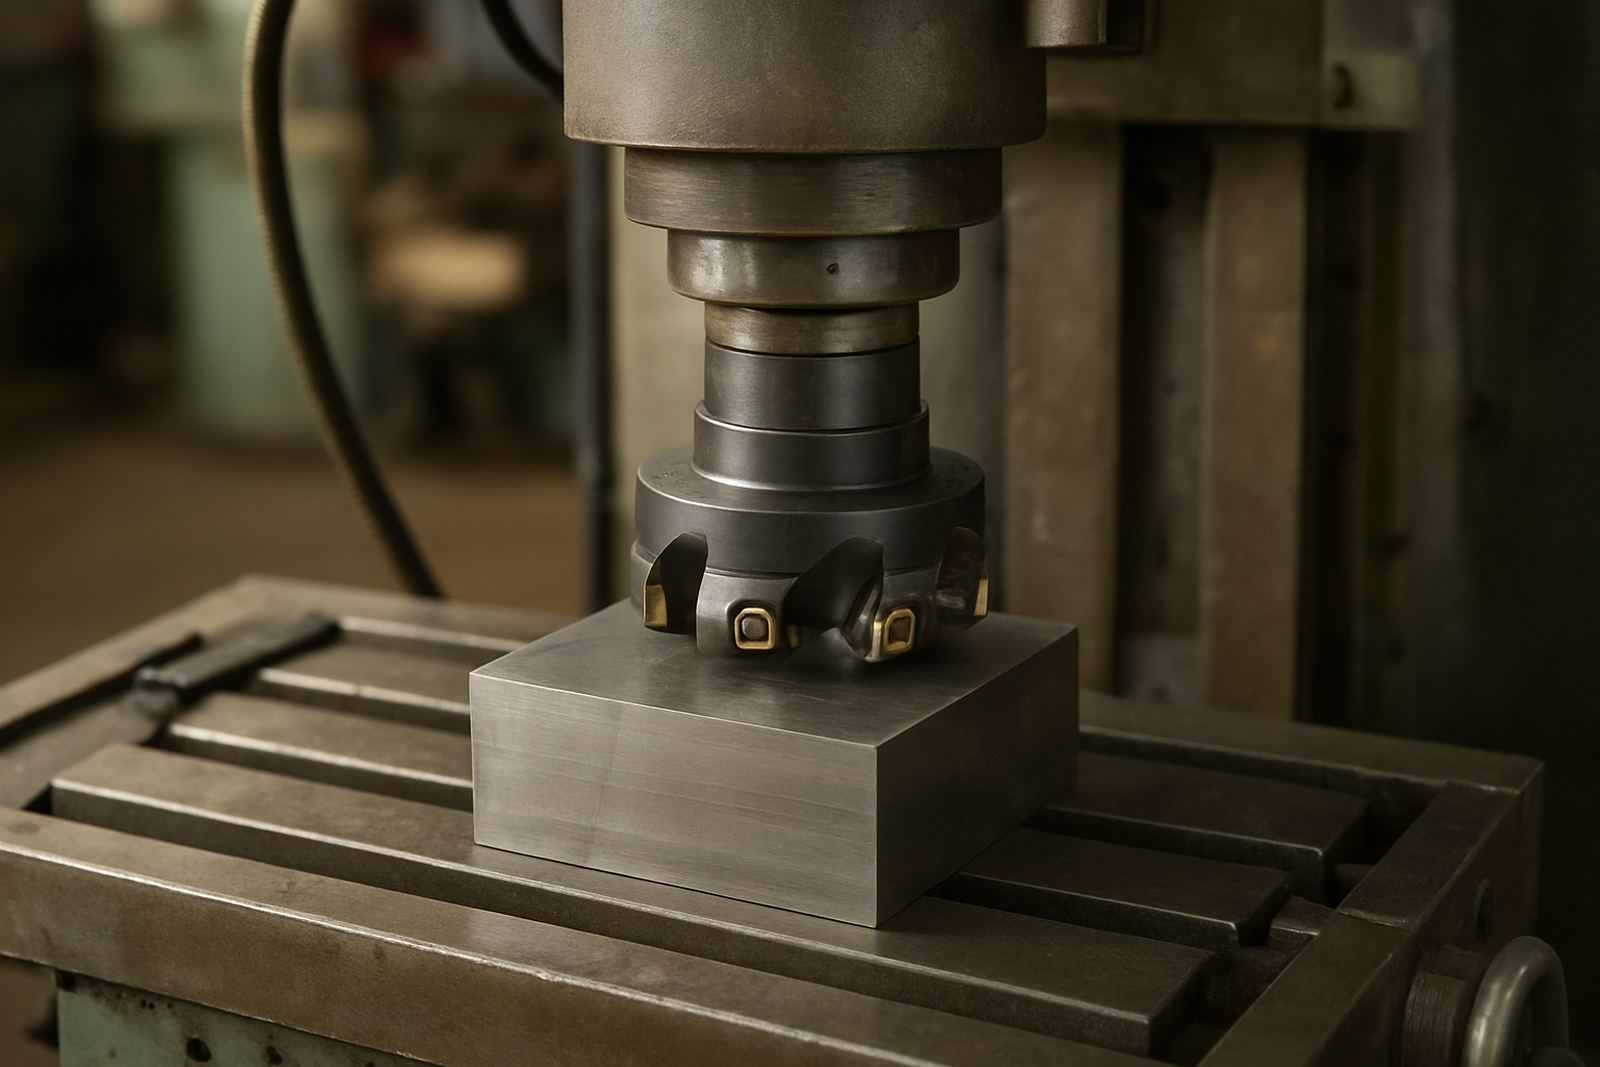
Steel and cast materials behave differently, so the cutter setup must match the job. For steel, you want a stable face mill with the right insert grade and geometry for the hardness and feed rate. For cast iron, chip control is usually easier, but dust and abrasive fines can still wear edges quickly if the holder and machine are not kept clean.
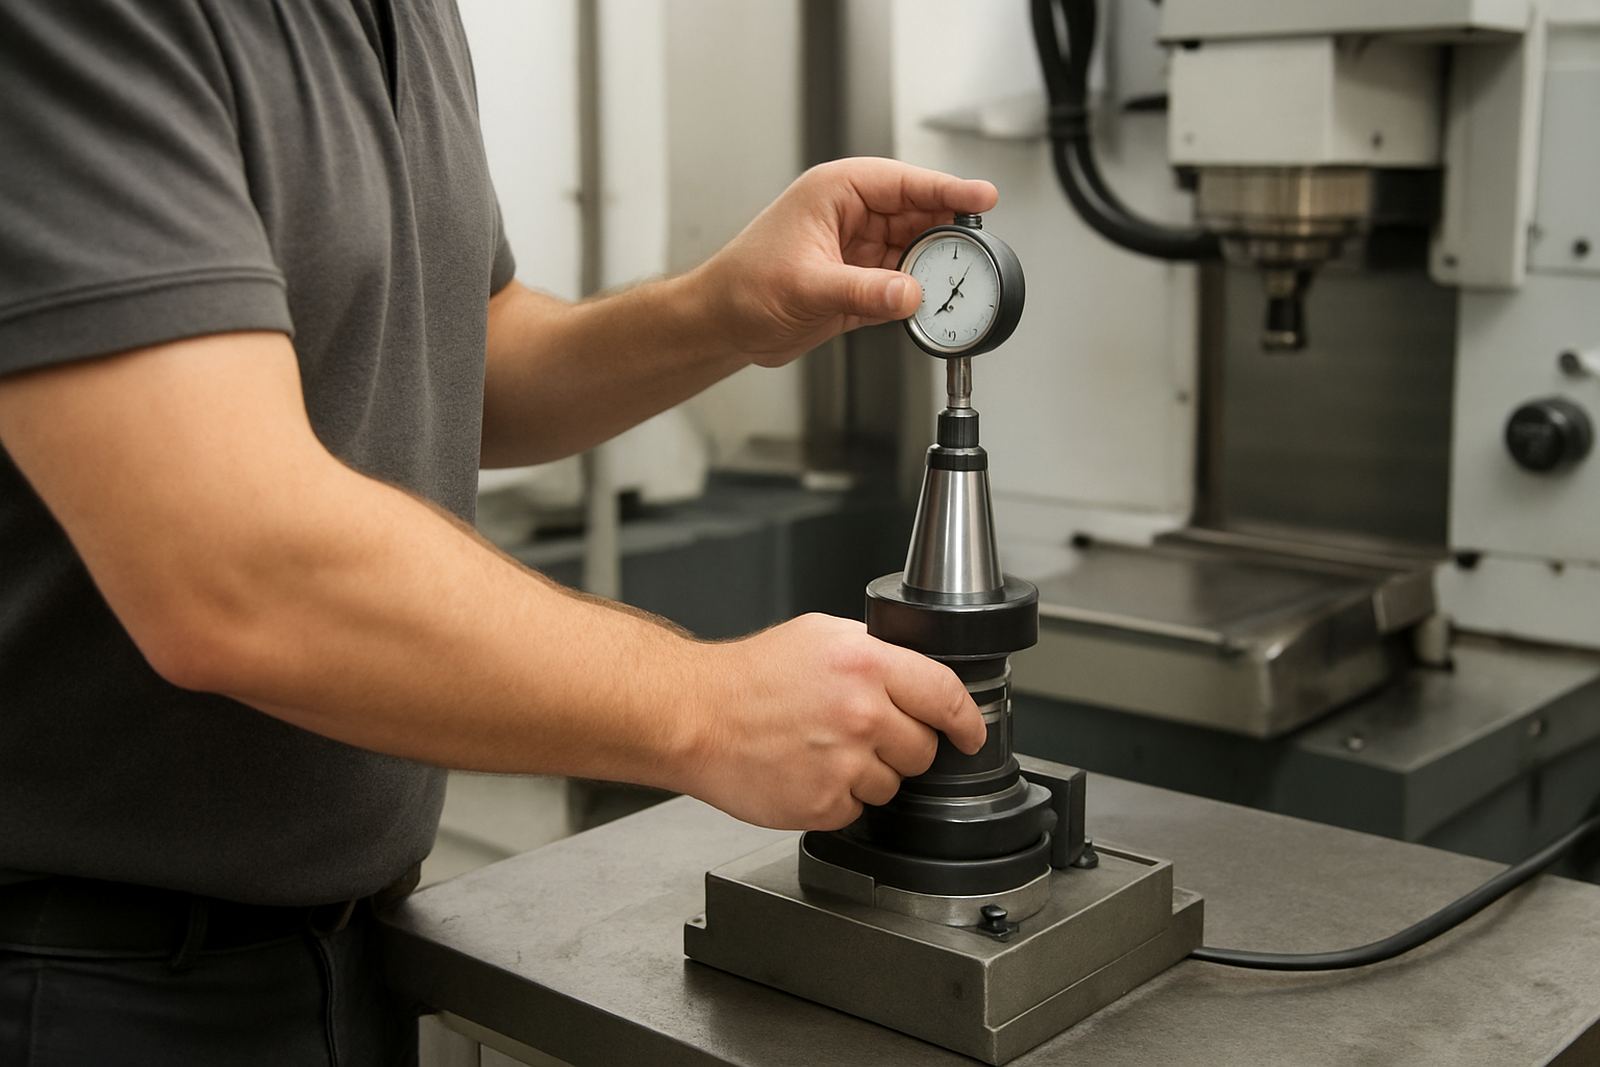
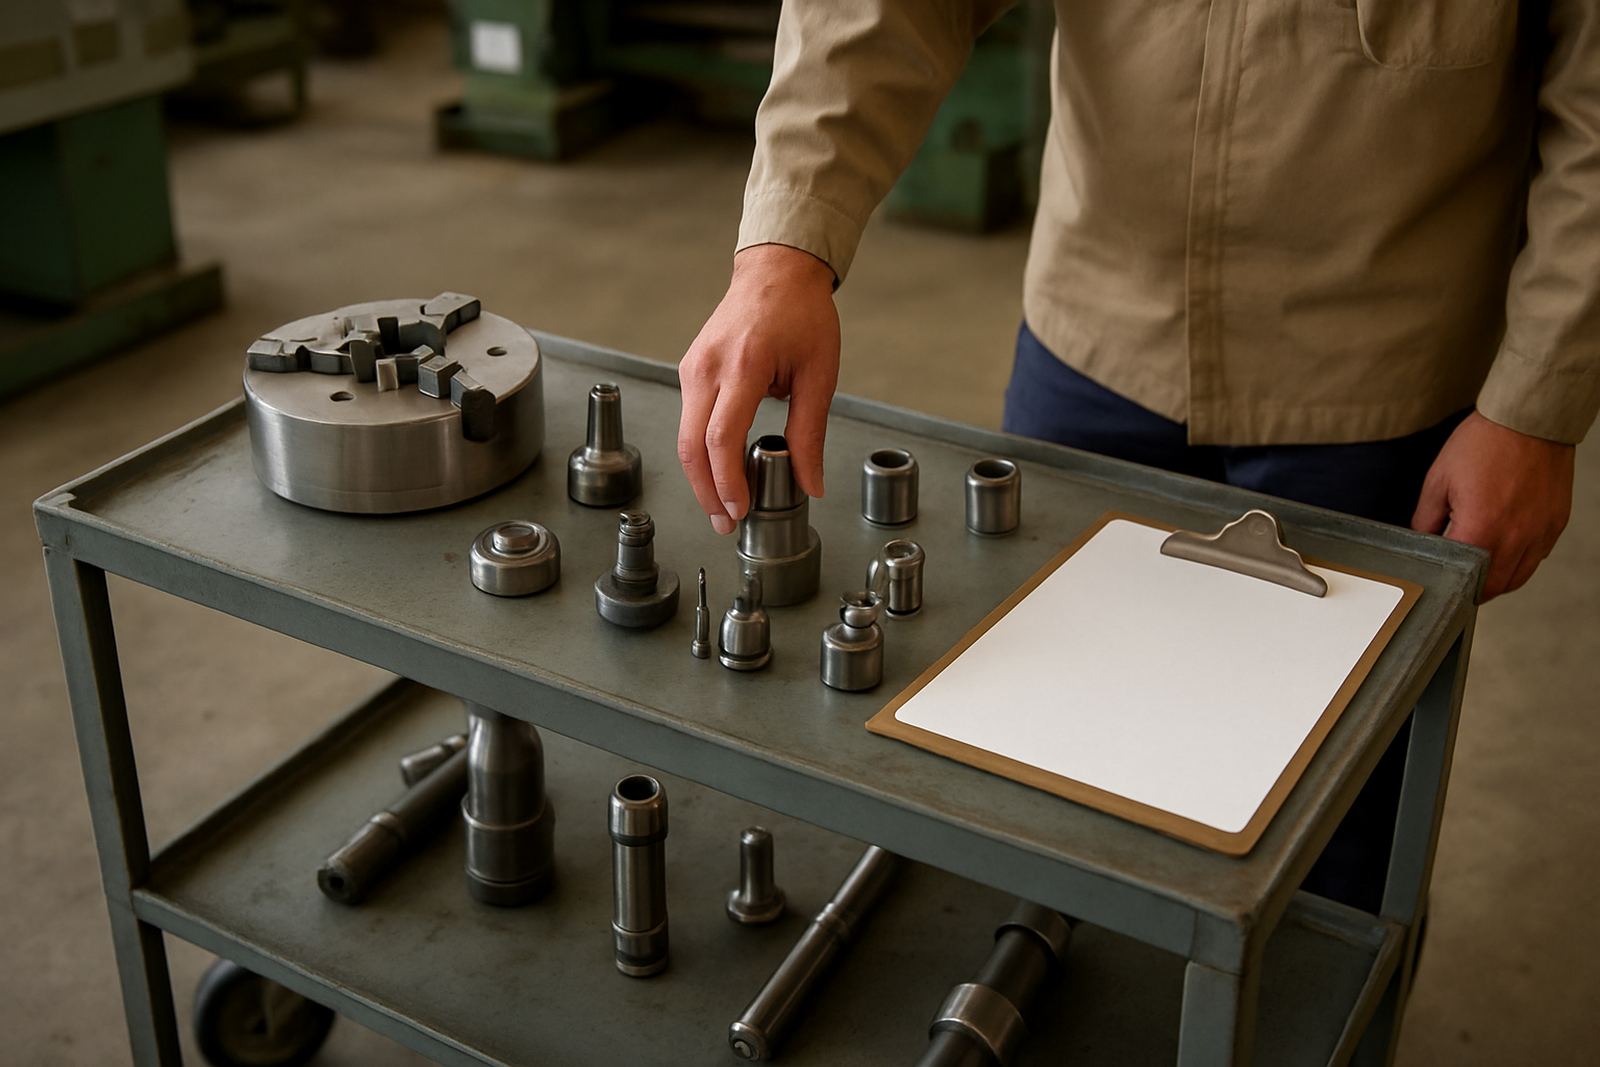
Tooling conditions in a shop matter too. A face mill with damaged pockets or worn clamping screws can create runout that shows up as step marks on the surface. Holder cleaning and runout checks should be part of the standard routine, not a fix after the part is already bad.
- Match insert geometry to the material, not just the diameter of the cutter.
- Inspect the pocket seats for burrs, swarf and nicks before fitting inserts.
- Check clamping screws, wedges and seats for even pressure.
- Keep the taper and face of the holder clean and dry before mounting.
- Verify runout at the cutter tip, not only at the holder body.
For jobs running in coastal Gqeberha, humidity can also affect storage. A holder left open on a rack can pick up surface rust or fine contamination, so simple cleaning before setup saves time later on.
Workholding must suit the cut depth
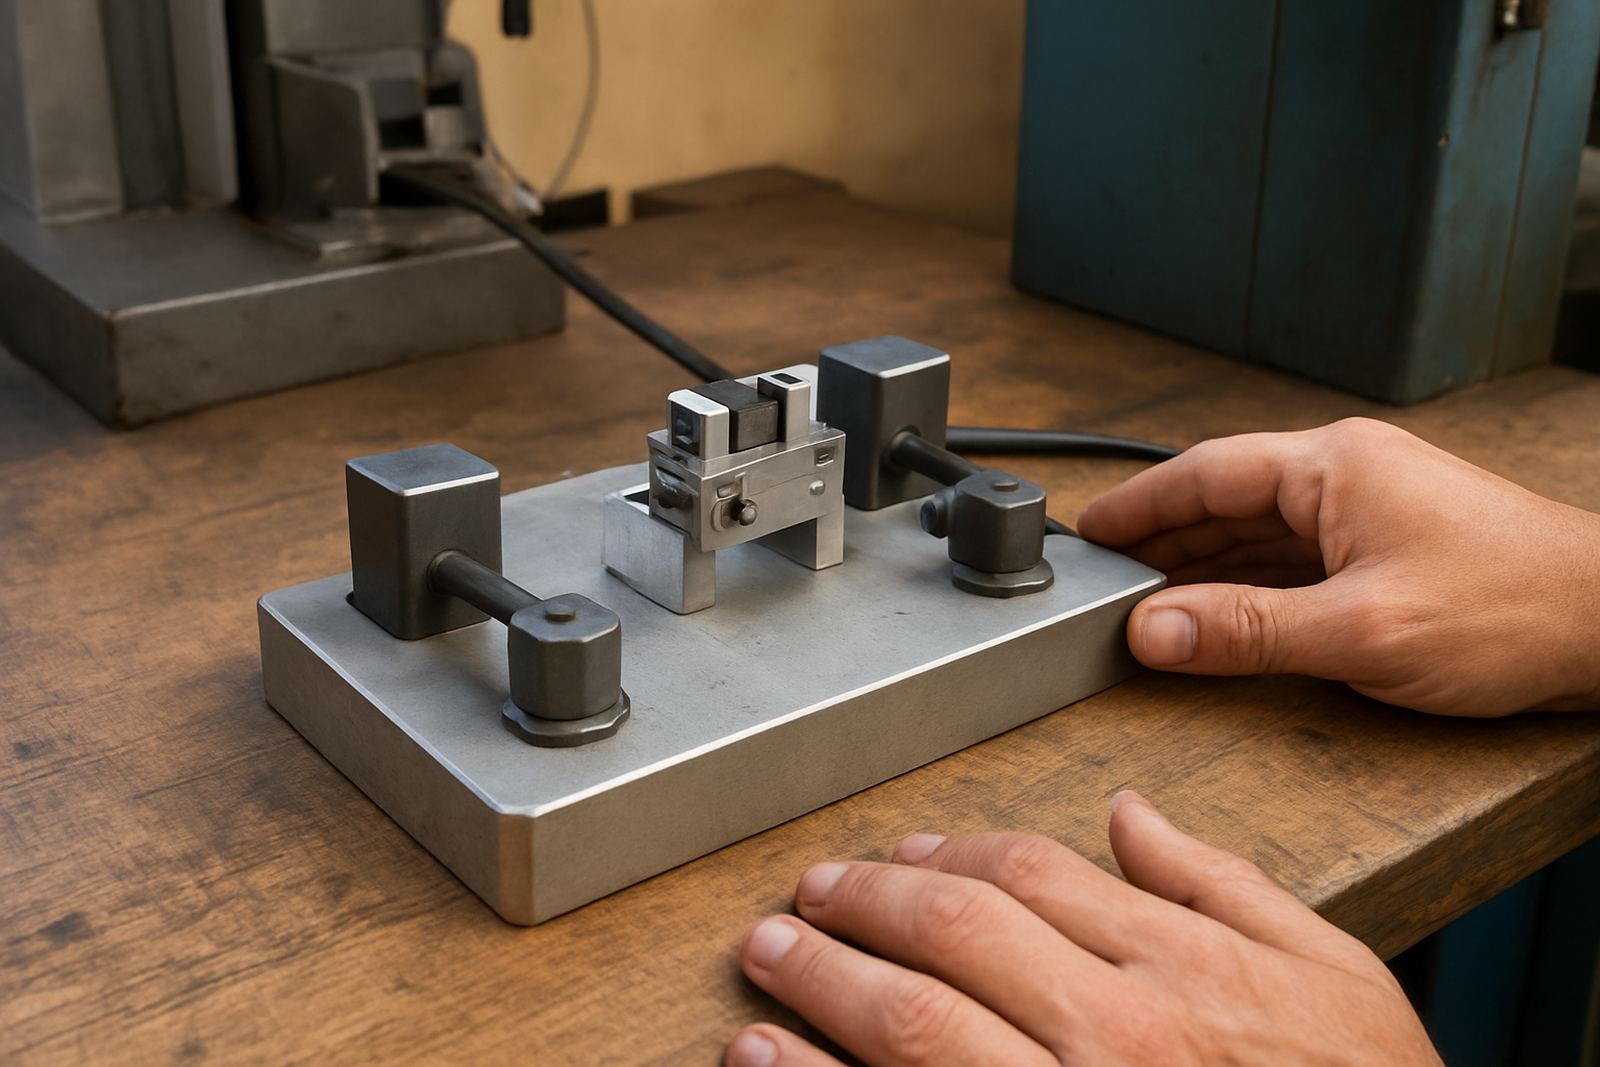
A face mill places side load and downward force on the job, so workholding needs to be rigid. On smaller vises, especially when jaws are not aligned or the grip is shallow, the part can lift slightly as the cutter enters. That movement may be tiny, but it changes the finish and can overload inserts.
For large plates, fixtures and T-slot clamps need a proper layout. Spread the support points so the workpiece does not flex under the cutter. If the part has a skin from flame cutting or casting, machine a stable reference face first and confirm that the clamp points are not sitting on scale or sand.
- Align the vise before facing any precision surfaces.
- Use parallels or support blocks that are clean and equal in height.
- Check jaw contact across the full grip length.
- Keep clamp fingers clear of the cutter path and chip flow.
- Recheck security after the first light pass.
When a shop is under time pressure, it is tempting to trust an old setup because it worked last week. But a slightly shifted jaw or a loose clamp can turn a simple face pass into a rework job.
Set the reference face and measure before the heavy cut
Face milling should start from a known reference. Pick the flattest practical area and use a light skim to establish the first true surface. After that, measure across the face and confirm whether the cut is removing the correct amount of stock. Do not assume the casting or rolled plate is square just because it looks close.
Presetting the tool helps here. If the cutter height is consistent, the operator can set a repeatable first cut and avoid sneaking up on the job in too many passes. For repeat work, a presetting service and regular tool inspection make a real difference to consistency.
On steel plates, especially material with scale, a heavier first pass may be needed to get under the hard skin. On cast material, a lighter pass can be safer if the surface is irregular and the machine setup is not fully proven yet. Either way, check the part after the first pass rather than after the whole batch. That saves time and inserts.
Watch speed, feed and insert wear as the face grows
Face milling is not just about making a flat surface, it is about keeping the tool stable across the full width of the cut. As the cutter moves over a larger face, chip load changes and the sound of the cut often tells you more than the panel display. If the machine starts to chatter, reduce the cut width, check insert wear and make sure the holder is still tight.
Insert wear should be watched from the start of the job. A worn edge may still cut, but it can leave a poor finish and increase load on the spindle. On cast material, abrasive wear can happen fast. On steel, heat build-up can shorten edge life if coolant flow is poor or feed is too slow.
Keep an eye on these signs during the first run:
- Bright streaks or scallops on the finished face
- Uneven chip colour or chip size across the pass
- Chatter marks near the start or end of the cut
- More spindle load than expected
- Edge wear visible after only a small number of parts
If any of those appear, stop and check the setup before carrying on. A face mill will often keep cutting long after the setup has gone wrong, which is exactly why the first signs matter.
Use local shop discipline to protect repeat jobs
In a machine shop serving Kariega, Despatch or the Port Elizabeth CBD, repeat work depends on consistent setup discipline. That means the same cleaning routine, the same checks on holders and the same approach to clamping every time. It also means planning around municipal supply interruptions and backup power so the machine does not restart with an unfinished setup left unattended.
For customers who run mixed batches, a clear setup sheet is worth its weight in time saved. Record the cutter diameter, insert type, stick-out, clamping points, first-pass depth and any issues found during the trial cut. That record helps the next operator avoid guesswork when the same job comes back months later.
Where jobs need extra support, services such as tool inspection, runout checks, holder cleaning, presetting and collection and delivery can help keep production moving. If a face mill setup is corrected early, the rest of the batch usually follows without drama, and the finish on steel or cast parts stays where it should be.
A practical Gqeberha example
Take a workshop in Coega machining a steel plate for a local plant. The job needs a clean face before drilling and tapping. The first setup looked fine, but the operator found a small amount of runout at the cutter tip and a slight jaw misalignment on the vise. After cleaning the holder, rechecking the clamp points and setting a lighter first pass, the finish improved and the second face came in flat enough for the next operation.
That is the point with face milling setup. The cutter matters, but the checks before the cut matter more. A few minutes spent on alignment, cleaning and measurement can save a full shift of rework, and in a coastal city with humidity, load shedding and tight delivery windows, those minutes count.