
Start with the changeover time you actually lose
Before you buy any quick-change system, measure where your setup time goes. In many shops the real delay is not clamping alone, it is cleaning the table, refinding datum, setting jaws, checking runout and redoing first-off parts after a tool or fixture move. If your team is changing jobs several times a shift, even a 10 minute saving can add up fast over a week.
Write down the current process for one common job and time each step. Include the stops that happen when the power dips, air pressure drops or a part is sent back for a repeat check. In Gqeberha and other coastal areas, humidity and airborne dust can also affect plates, spigots and sliding faces, so cleaning time matters more than many shops expect.
- Record setup time for one part family, not just one machine
- Note how often operators must recheck position or height
- Count rejected first pieces and the reason for each reject
- Measure how much downtime comes from manual alignment
Match the clamping method to the work you run
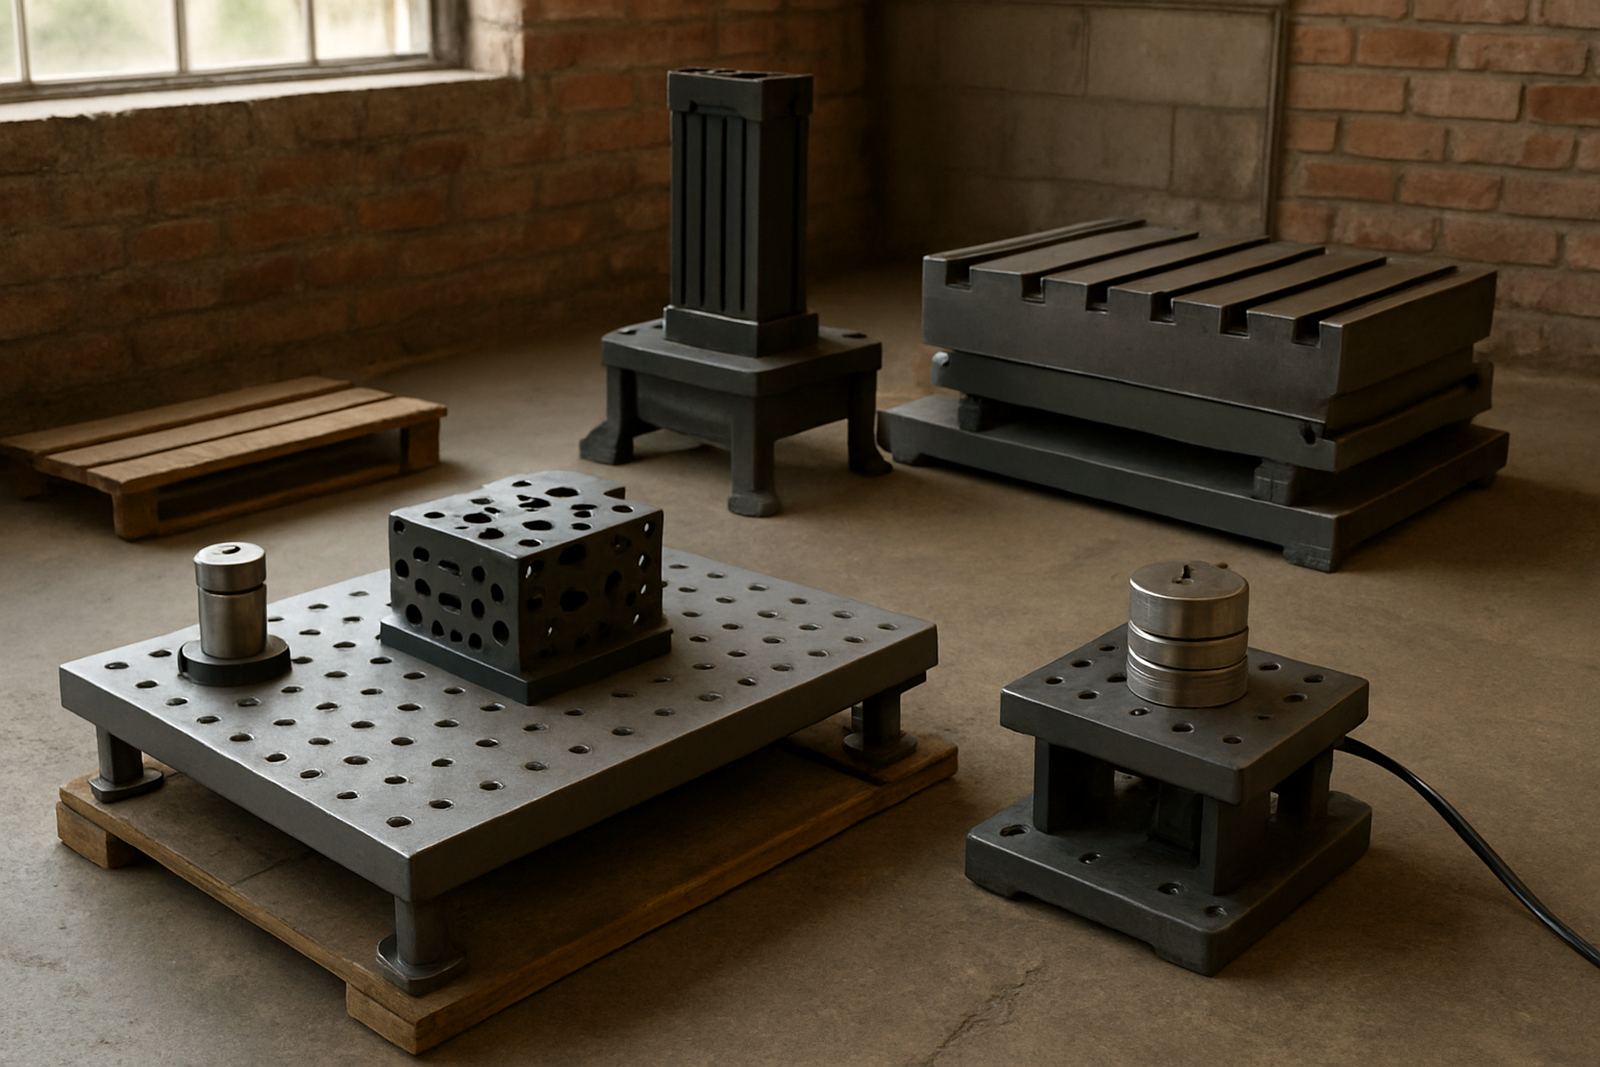
Zero point clamping is best when repeatability and frequent changeovers matter. It is especially useful for machine shops running small batches, mixed components or overnight work where operators need to load quickly and get back to cutting. The system must suit the weight, size and accuracy of the parts you machine, not just the brochure figure.
For heavier work or awkward castings, check whether the base plate, locators and pull studs can handle the load without movement. For lighter aluminium, plastic or prototype work, the priority may be speed and easy repositioning. If you run CNC milling, fixture plates, pallet systems or inspection jigs, the clamping style must fit the full process from setup through to final check.
- Confirm the maximum part weight and clamp load
- Check if your jobs need full pallet exchange or simple fixture swaps
- Review accuracy requirements in microns, not just millimetres
- Make sure the system suits your machine envelope and access points
Check the machine, table and air supply before installation
A quick-change system only performs well when the base machine is ready for it. Inspect the table surface, mounting pattern, air lines and control access. If the machine has visible wear, chipped T-slots or inconsistent parallelism, fix that first or the new clamping will inherit old problems. On some older machines the issue is not the clamp at all, it is the table condition or a tired spindle taper.
Also consider the workshop environment. Load-shedding can interrupt pressure systems and scanning routines, so your clamping approach should be easy to secure and verify after a restart. If your shop is near the coast, regular cleaning and corrosion control are part of the job. In high dust areas, keep locating faces protected and set a clear cleaning routine at shift change.
- Check air pressure, filtration and moisture control
- Inspect the machine table for flatness and damage
- Verify access for cleaning around the clamping points
- Plan for restart checks after outages or air interruptions
Build a setup routine that operators can repeat
The best clamping system is only as good as the people using it. A simple routine helps keep every setup consistent, whether the operator is on day shift in Struandale or working a late shift in Coega. Keep the process short, clear and visible at the machine. The goal is to reduce guesswork and stop small errors before they turn into scrap.
Set one sequence for cleaning, one for locating, one for tightening and one for verification. If you use presetting, scanning or tool inspection alongside the clamping system, keep the same order every time. That makes handover easier and reduces confusion when different staff members cover the same machine.
- Clean locating faces and contact points before every load
- Check clamp engagement and release movement
- Verify datum with a known reference part or gauge
- Record first-off results before starting production
Use supporting services to protect accuracy
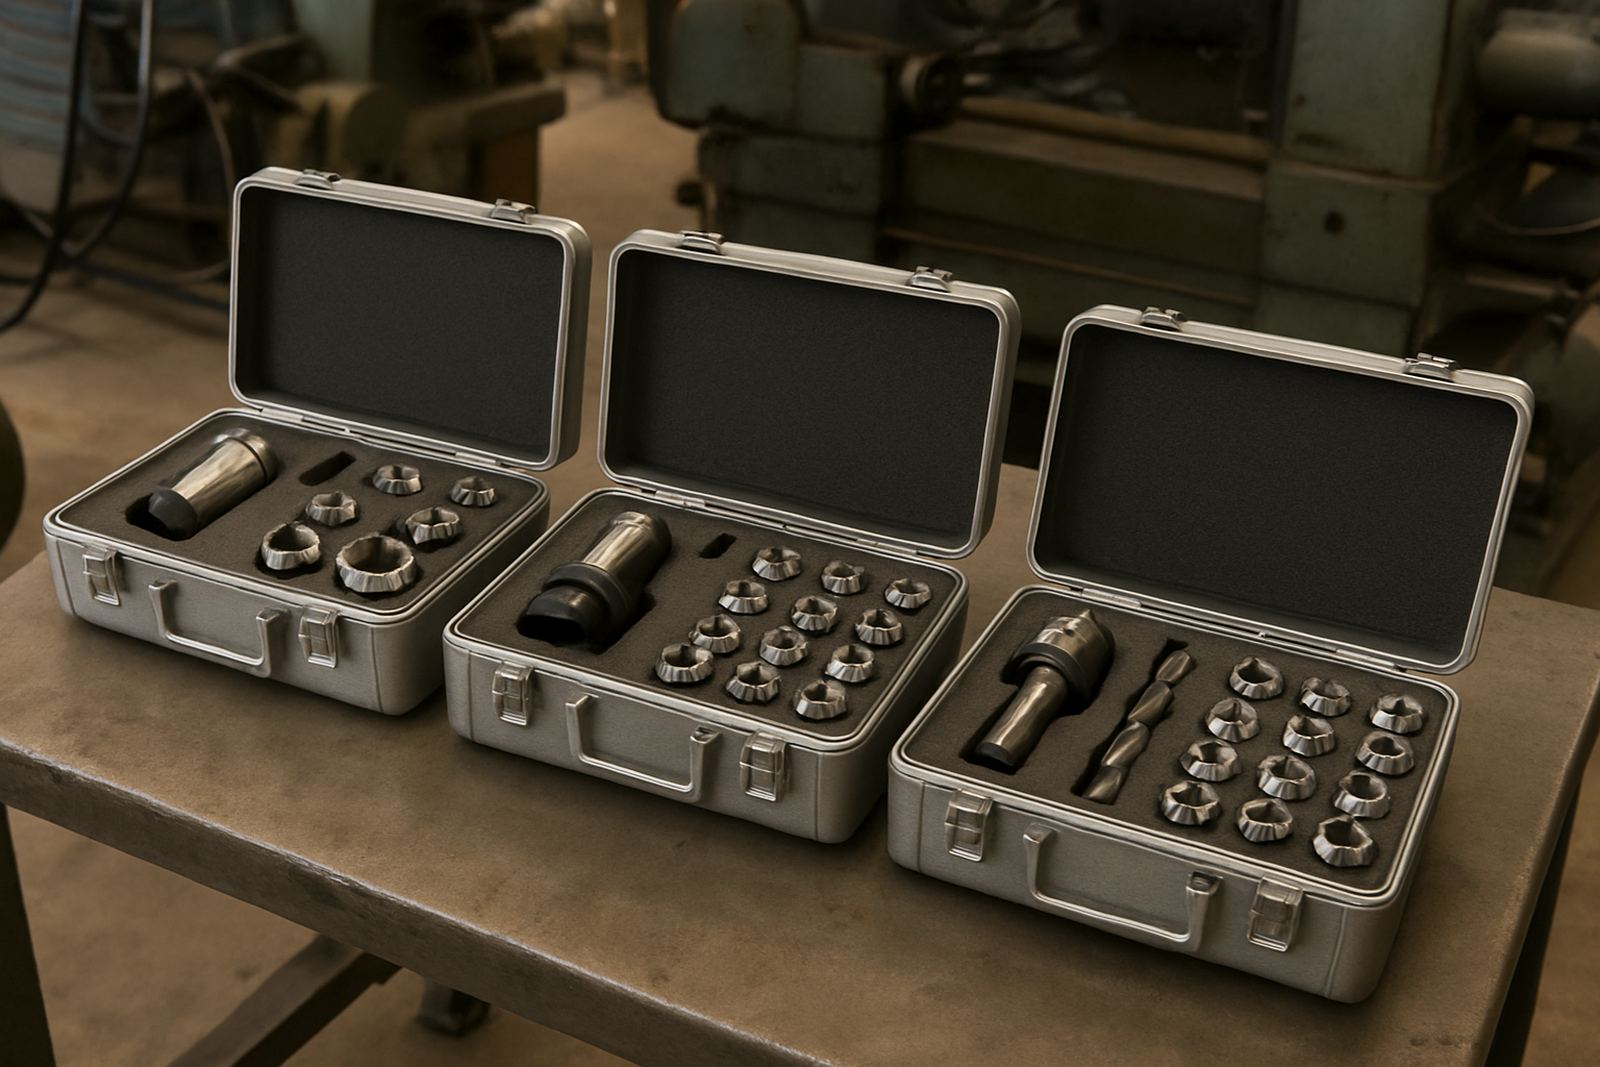
Zero point clamping works best when the rest of the machining process is in good shape. Tool holders, collets, workholding faces and cutter condition all affect the final result. If runout is high or a holder is dirty, the clamping system will not hide that. Shops that keep up with holder cleaning, tool regrinding and runout checks usually see better repeatability from the first job onward.
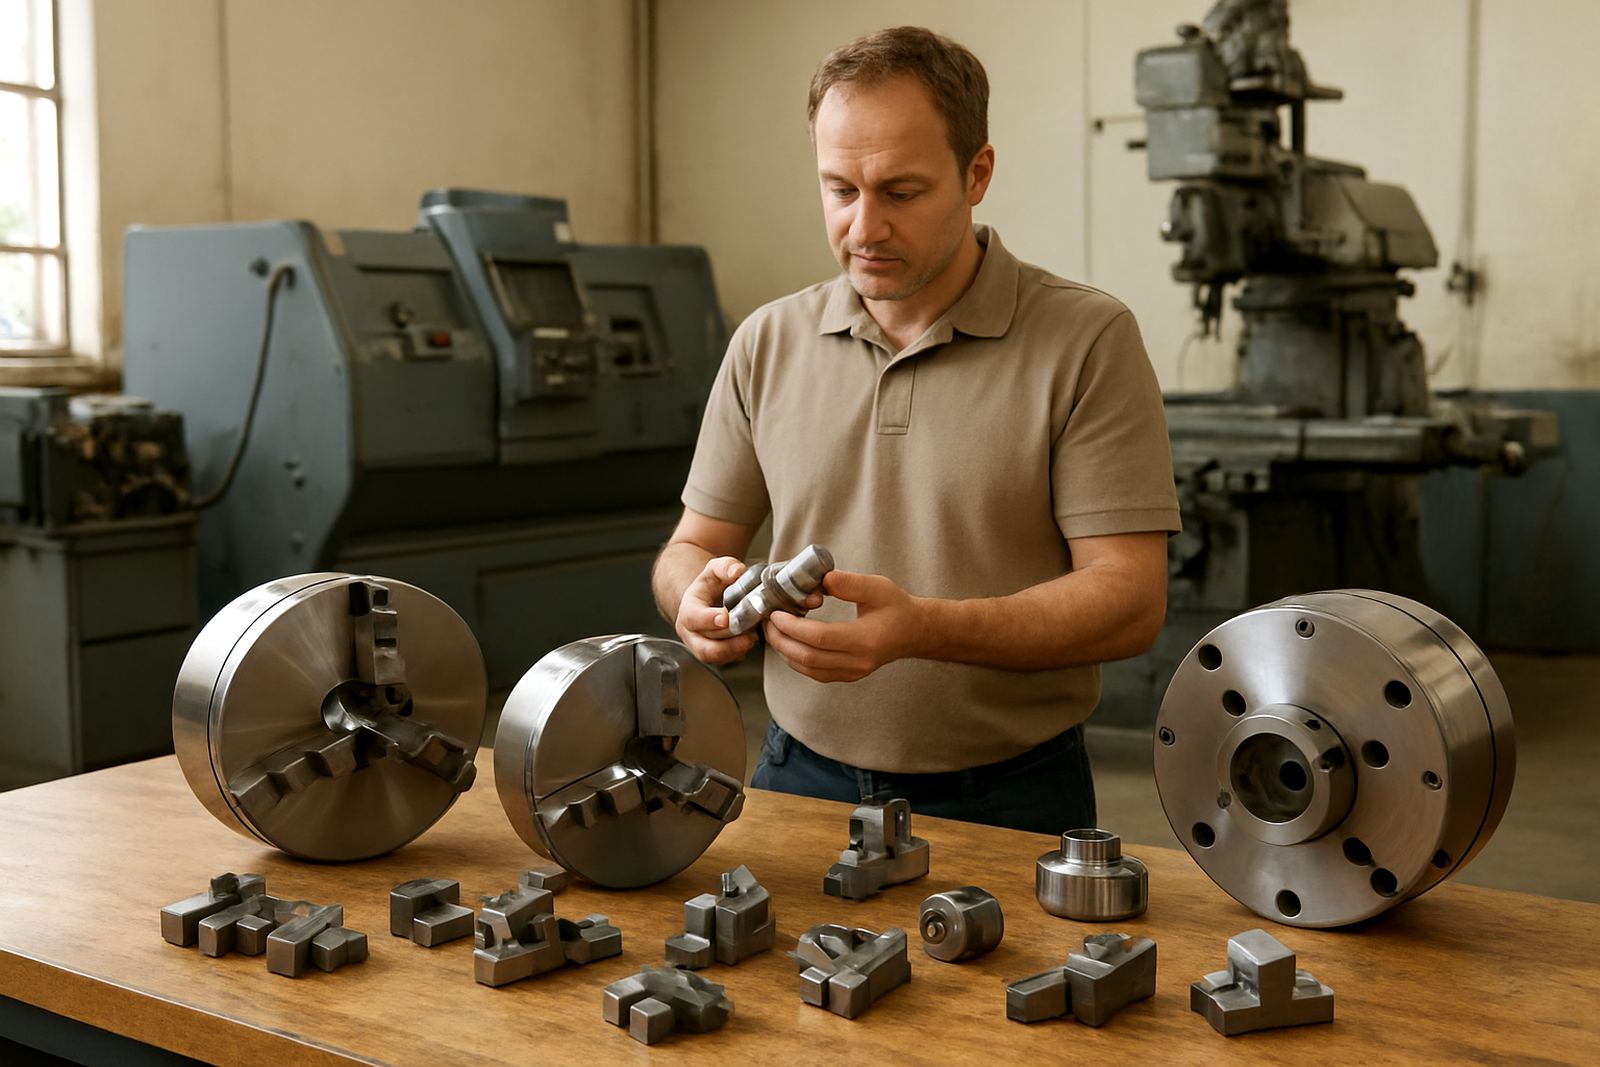
It also helps to review adjacent processes such as chuck jaw machining, vise alignment, scanner calibration and printer maintenance if you use additive parts in the same workflow. A clamping change should support the whole production line, not create another weak point. For shops collecting and delivering fixtures or plates between sites, keep transport packaging firm so locating surfaces stay protected.
Use this checklist before you commit
Before introducing zero point clamping, run a final review with production, maintenance and the person who sets the machine. This avoids buying a system that looks right on paper but slows the shop down in practice. A proper checklist also helps when you compare options across different machines or branches.
- Does the system suit your job mix and batch sizes?
- Will operators save enough time to justify the cost?
- Can the machine, table and air supply support it reliably?
- Have you planned cleaning, inspection and restart checks?
- Do you have local support for setup help, service and follow-up?
If the answer to most of these is yes, you are ready to move. If not, sort out the table condition, toolholding, air quality or training first. That extra step usually costs less than correcting poor repeatability later.