
Start with the machine table and the jobs you run most
Begin by measuring the usable table area on your mill or machining centre, then leave space for clamps, studs and the cutter path. A plate that is too large can block travel or overhang awkwardly, while one that is too small forces you to improvise with spacers and off-centre clamping. In Gqeberha and across the Eastern Cape we often see shops choose the plate around the biggest repeat job, not the biggest possible job, and that usually gives better day to day results.
Think about what lands on the table every week. If you run small production parts, a medium plate with a regular grid may be enough. If you do mixed work, pattern flexibility matters more than sheer size. Check access from all sides, machine Z height, spindle nose clearance and whether the plate still allows coolant to drain properly under load.
- Measure table length, width and T slot layout
- Allow for vice bodies, stops and edge clamps
- Check travel limits in X, Y and Z
- Confirm the plate will suit the largest common part, not only the biggest once off job
Choose a hole pattern that matches your workholding
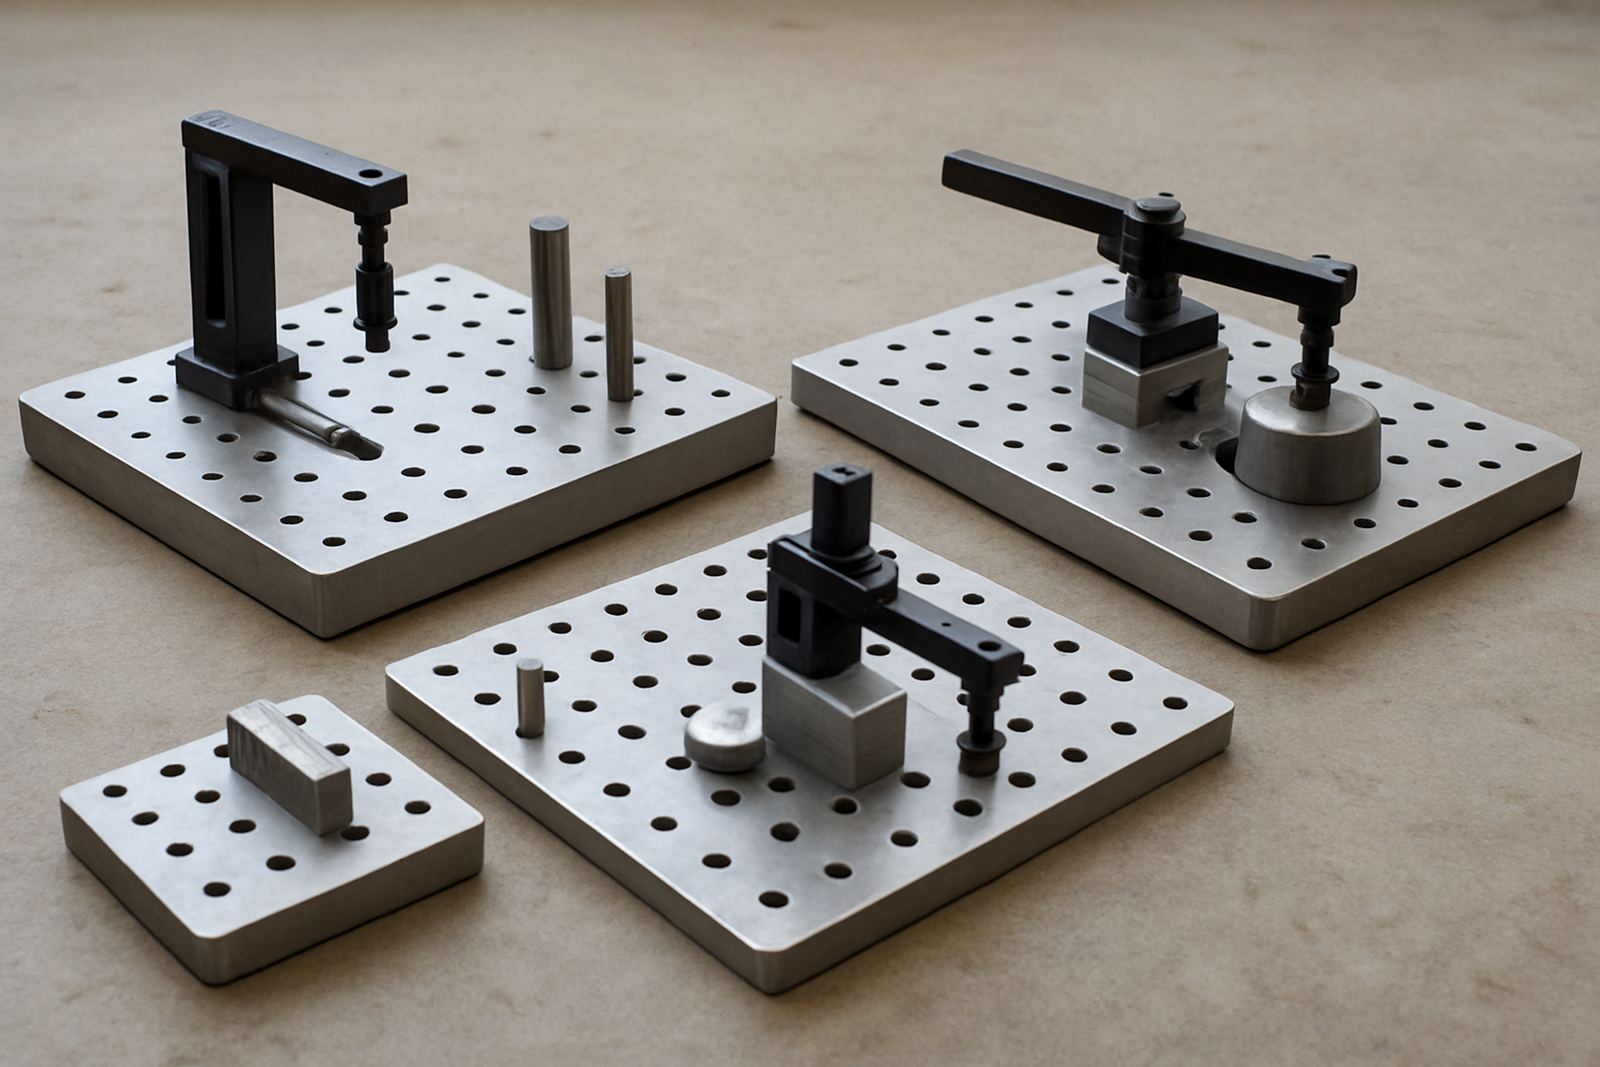
The hole pattern is what makes a fixture plate useful. A good pattern gives you fast location points, repeatable part positions and fewer setup errors. For modular work, a dense grid with accurate spacing helps when you switch between vices, soft jaw fixtures, direct bolting and custom stops. If you are constantly drilling your own holes in the plate, the pattern is probably not doing enough for your process.
Look at the type of parts you machine. Thin plates, aluminium components and small batches usually benefit from a tighter grid. Bigger fabricated parts may need wider open areas between holes so you can mount supports and clear swarf. In coastal areas like Gqeberha humidity can be hard on unfinished steel, so the layout should also let you clean and dry the surface quickly after use.
- Check hole spacing against your common vice and clamp positions
- Decide if you need threaded holes, dowel holes or a mixed layout
- Make sure the pattern supports repeat jobs without re indicating every time
- Leave enough open area for swarf evacuation and coolant flow
Material choice affects stiffness, wear and corrosion
Material is not only about price. It affects flatness, weight, wear life and how well the plate handles daily use. Steel plates are generally better where you need stiffness and long service life, especially for heavier workholding or rougher environments. Aluminium plates are easier to handle and can be a practical option for lighter jobs, but they need more care around thread wear and surface damage.
If the plate will sit on a machine in a workshop with dust, coolant mist and load-shedding interruptions, think about protection as well. A plate left with coolant on it during a power cut can pick up staining or corrosion. Shops in Struandale, Markman and Coega often ask for options that are easy to clean and inspect between shifts, and that saves time when the team changes over at short notice.
- Steel for higher stiffness and tougher daily use
- Aluminium for lighter handling and quicker mounting
- Check corrosion resistance if the shop is near the coast
- Ask how the surface should be maintained after coolant exposure
Match the plate to your fixturing method
The best fixture plate is the one that fits the way your shop actually clamps parts. If you use modular tooling, decide whether the plate needs to support vices, locator pins, zero point style setups or direct bolt-down components. The plate should make set up quick without forcing the operator to fight the arrangement every time.
For many machine shops, the aim is to reduce rework and keep the part in the same position from the first operation to the last. That means the plate should support fine adjustment during initial setup, then lock down securely once aligned. Vise alignment, chuck jaw machining and presetting all become more valuable when the plate itself is accurate and properly maintained.
- Identify whether you use vices, clamps, pallets or custom fixtures
- Check if the plate supports repeatable datum points
- Confirm there is enough room for tool reach and probe access
- Make sure the plate suits both prototype work and longer production runs
Inspect flatness, runout and mounting before first use
Before a new plate goes into service, inspect it properly. Clean the base, check the mounting surface and confirm that the plate seats without rocking. Even a small amount of debris under the plate can introduce error across a whole batch. Runout checks and tool inspection are worth doing at the same time, because a bad setup often looks like a machining problem until you trace it back to the fixture.
Use a dial indicator or similar measuring method to confirm the plate is sitting true to the machine table. If you are fitting it to a machine in Despatch or Kariega and the floor has seen years of vibration, take the extra time to verify the base and mounting hardware too. A plate that is properly installed gives you confidence when the job needs fine tolerances.
- Clean the table and underside before clamping down
- Check flatness across the working area
- Verify bolt torque and seating after initial mounting
- Record the datum position for future setups
Plan for maintenance so the plate stays accurate
A fixture plate only stays useful if it is maintained like a measuring surface, not treated as scrap steel. Chips trapped in holes, damaged threads and burrs around the edges all affect repeatability. Regular holder cleaning, inspection and light protection from rust can add a lot of life, especially in busy shops where the same plate is used across several shifts.
If you are running 3D printed fixtures, scanning work or mixed machining jobs, it helps to keep a simple maintenance routine. Clean after each shift, check critical holes weekly and inspect any high wear locations monthly. During power interruptions, cover the plate and clear coolant from the surface when it is safe to do so. That small habit can prevent stains and keep the plate ready for the next order.
- Brush out chips and swarf after every changeover
- Inspect threaded holes for wear or damage
- Protect the surface from corrosion during downtime
- Recheck alignment after heavy jobs or machine moves
A practical checklist before you order
If you are still comparing options, work through the basics in order. Size first, then hole pattern, then material and maintenance. That sequence helps you avoid paying for features you will not use, or worse, buying a plate that does not suit the machine. A shop in Coega may need a different setup from a small unit in the Port Elizabeth CBD, but the same logic applies: measure, match and check before you commit.
Keep your checklist simple and let the work decide. A fixture plate should make the operator faster, not more cautious. Once it is installed and proven, you should be able to move from one batch to the next with less setting time and fewer surprises.
- Confirm machine table size and travel clearance
- Select the hole pattern around your most common fixtures
- Choose material based on load, handling and corrosion risk
- Plan mounting, cleaning and inspection from day one