Prototype brief from a Newton Park engineering shop
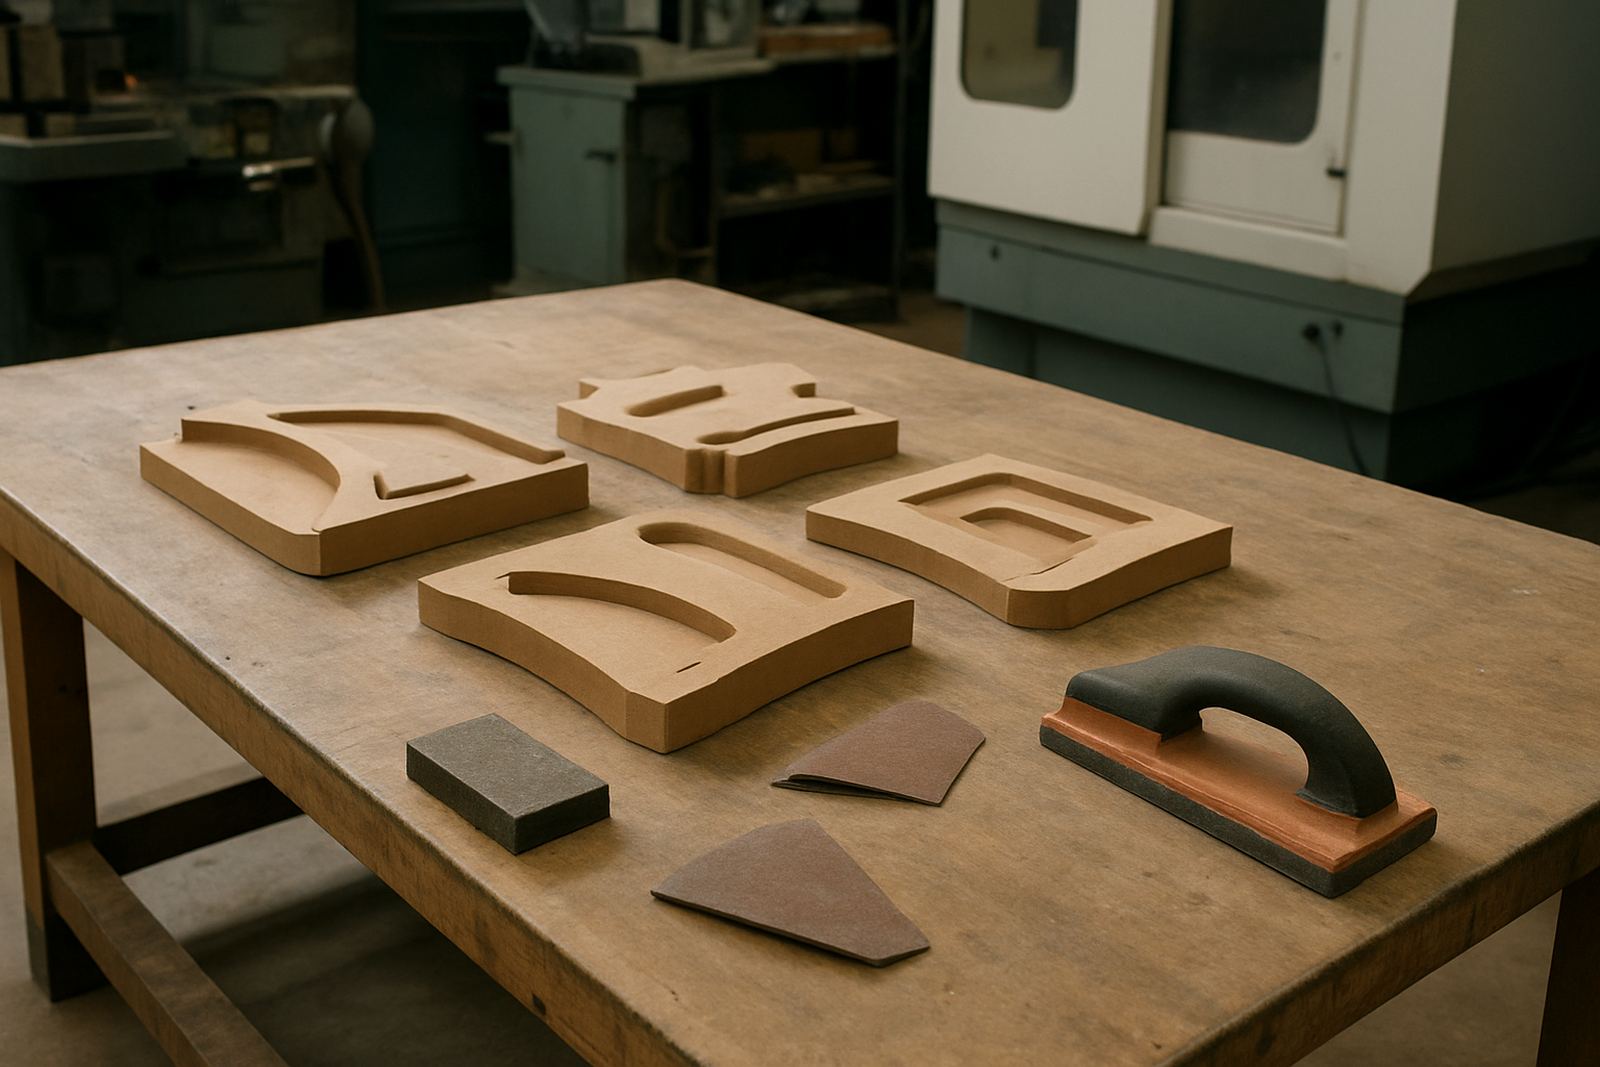
The client was a small manufacturing team in Newton Park, Gqeberha, building a new fixture and a set of prototype components for internal testing. They needed parts that could be checked on the bench, trial fitted in an assembly, and adjusted without waiting weeks for a full production toolpath or overseas supply. The brief was clear: make the first parts quickly, keep the geometry accurate, and leave enough repeatability for the next round of testing.
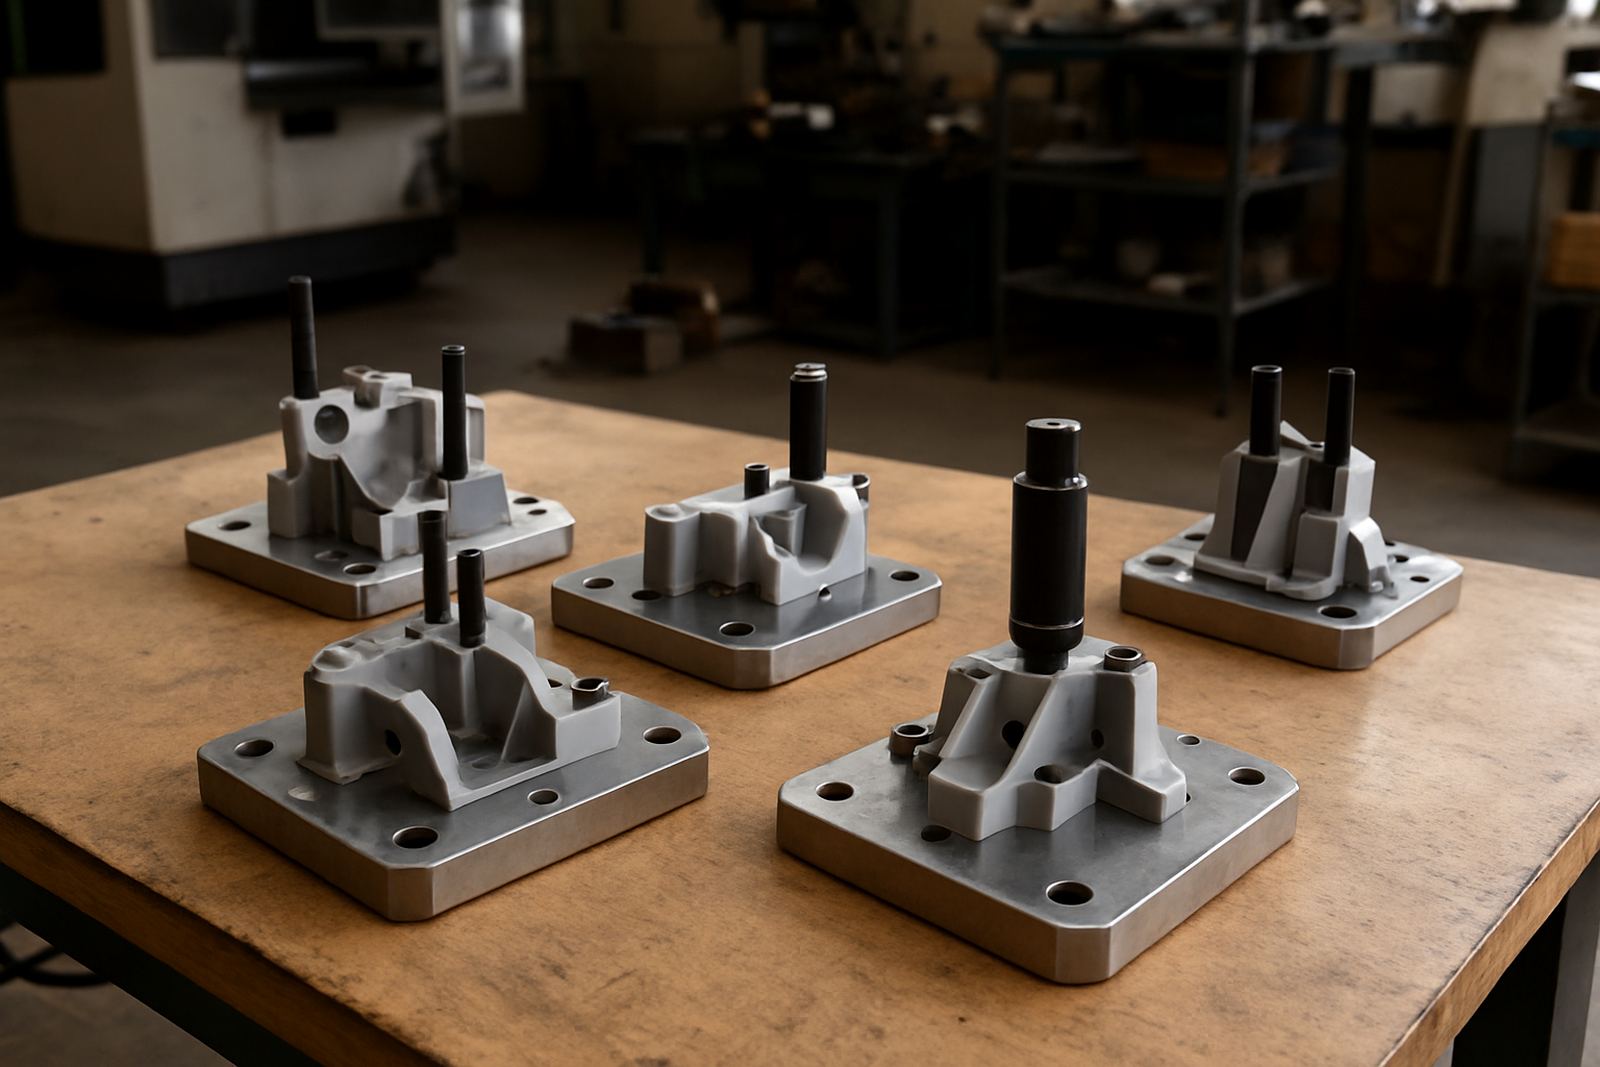
The parts included a housing, a locating insert, two alignment features and a cover section with clamp interfaces. The critical areas were hole positions, face flatness, and mating edges. The customer also wanted a clean visual finish because the prototypes were being shown to their production team and a local end user. We planned the job around a 2 week delivery window, with one early check-in after the first print set and a second after machining. That gave the client time to comment before the final pieces were released.
The environment mattered too. Newton Park is not far from industrial traffic and dusty storage yards, so the parts needed to be handled carefully during transport and kept free from grit before measurement. In Gqeberha, humidity and salt air can also affect storage and handling, especially when metal inserts and printed components sit together for a few days. We allowed for that in the packing and inspection sequence.
Why we combined additive manufacturing and CNC finishing
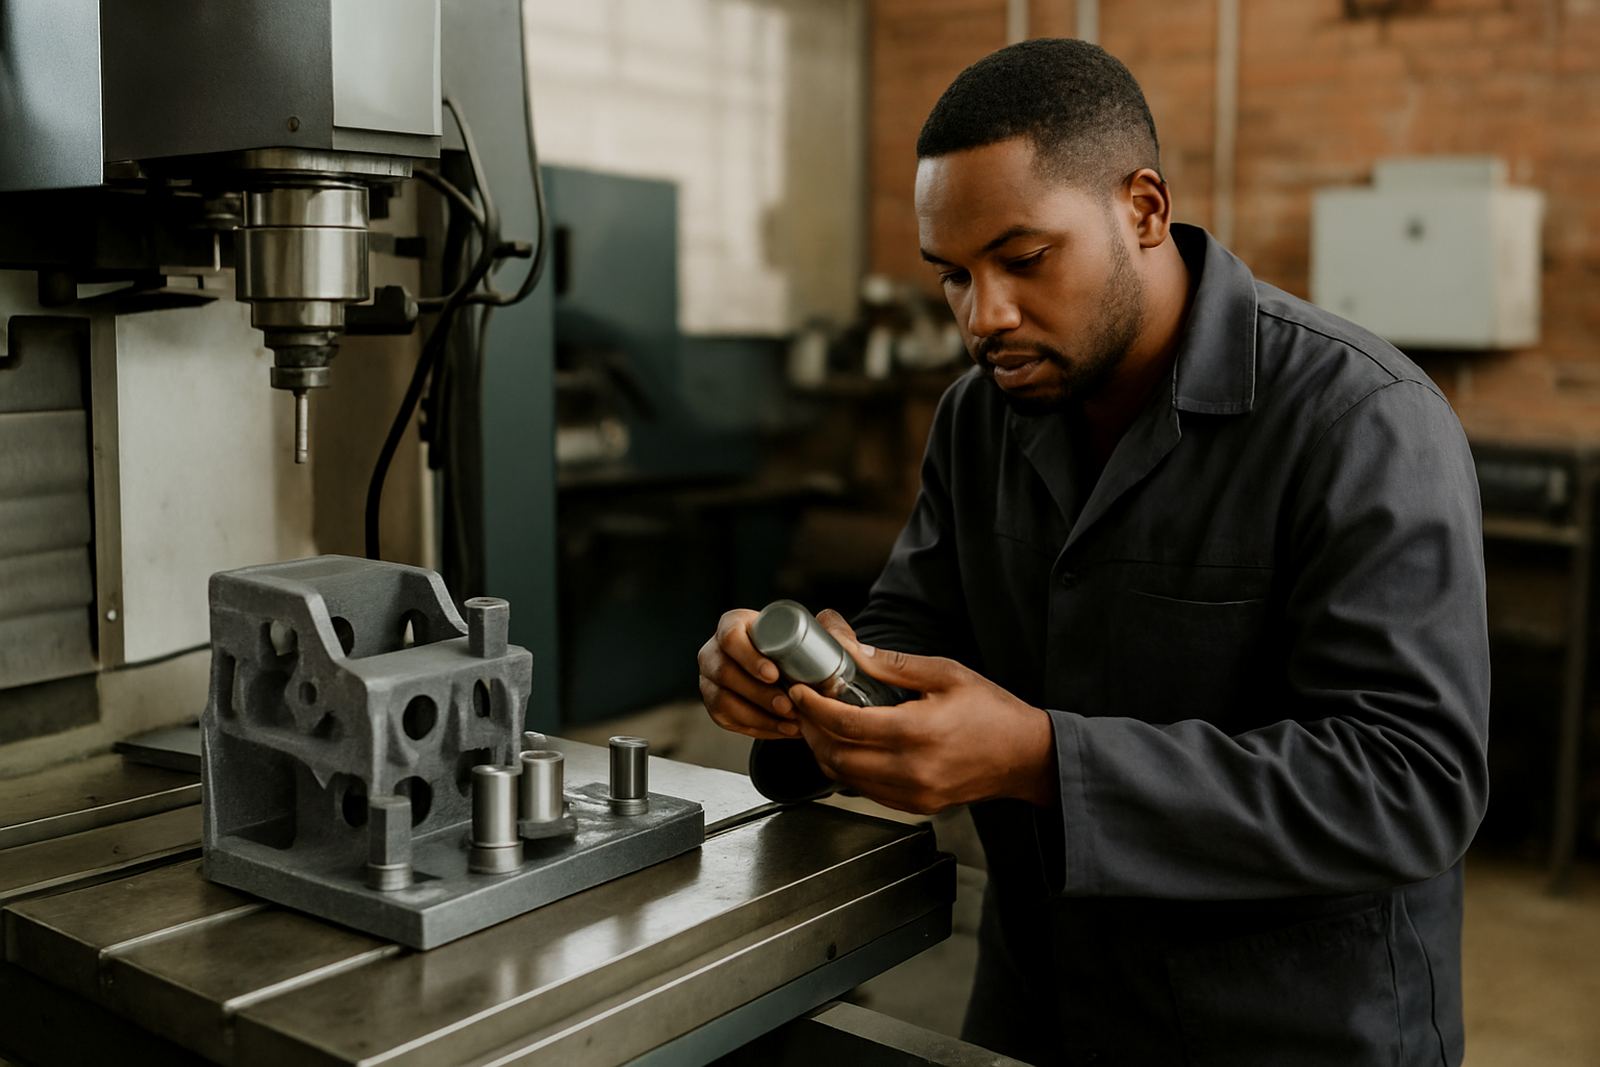
Pure printing would have been too slow on the critical faces and too loose on the reference points. Pure machining would have added extra setup time and pushed the cost up for a one-off prototype set. The better answer was to print the bulk of each part, then machine the working surfaces and interface points after print. That gave the team a faster turnaround without compromising the fit where it mattered.
The printed sections were used for form, clearances and internal features that did not need full metal machining. The CNC stage was then used for datum faces, mounting holes and edges that had to line up with existing equipment. This mix is useful for prototype work because it gives a cleaner result than a rough print-only sample, but still keeps the schedule realistic for a South African shop that cannot afford long machine downtime.
- Printed sections for shape, internal voids and quick revision cycles
- CNC finishing for datum faces, hole positions and clamp interfaces
- Inspection between stages so the next step started from measured data
We also kept the process practical for load-shedding conditions. The print run was scheduled so the key stages were not left halfway through a critical cycle, and the CNC work was grouped to reduce start-stop interruptions. That helped the job move smoothly rather than sitting idle between power events.
What we supplied and how the work was set up
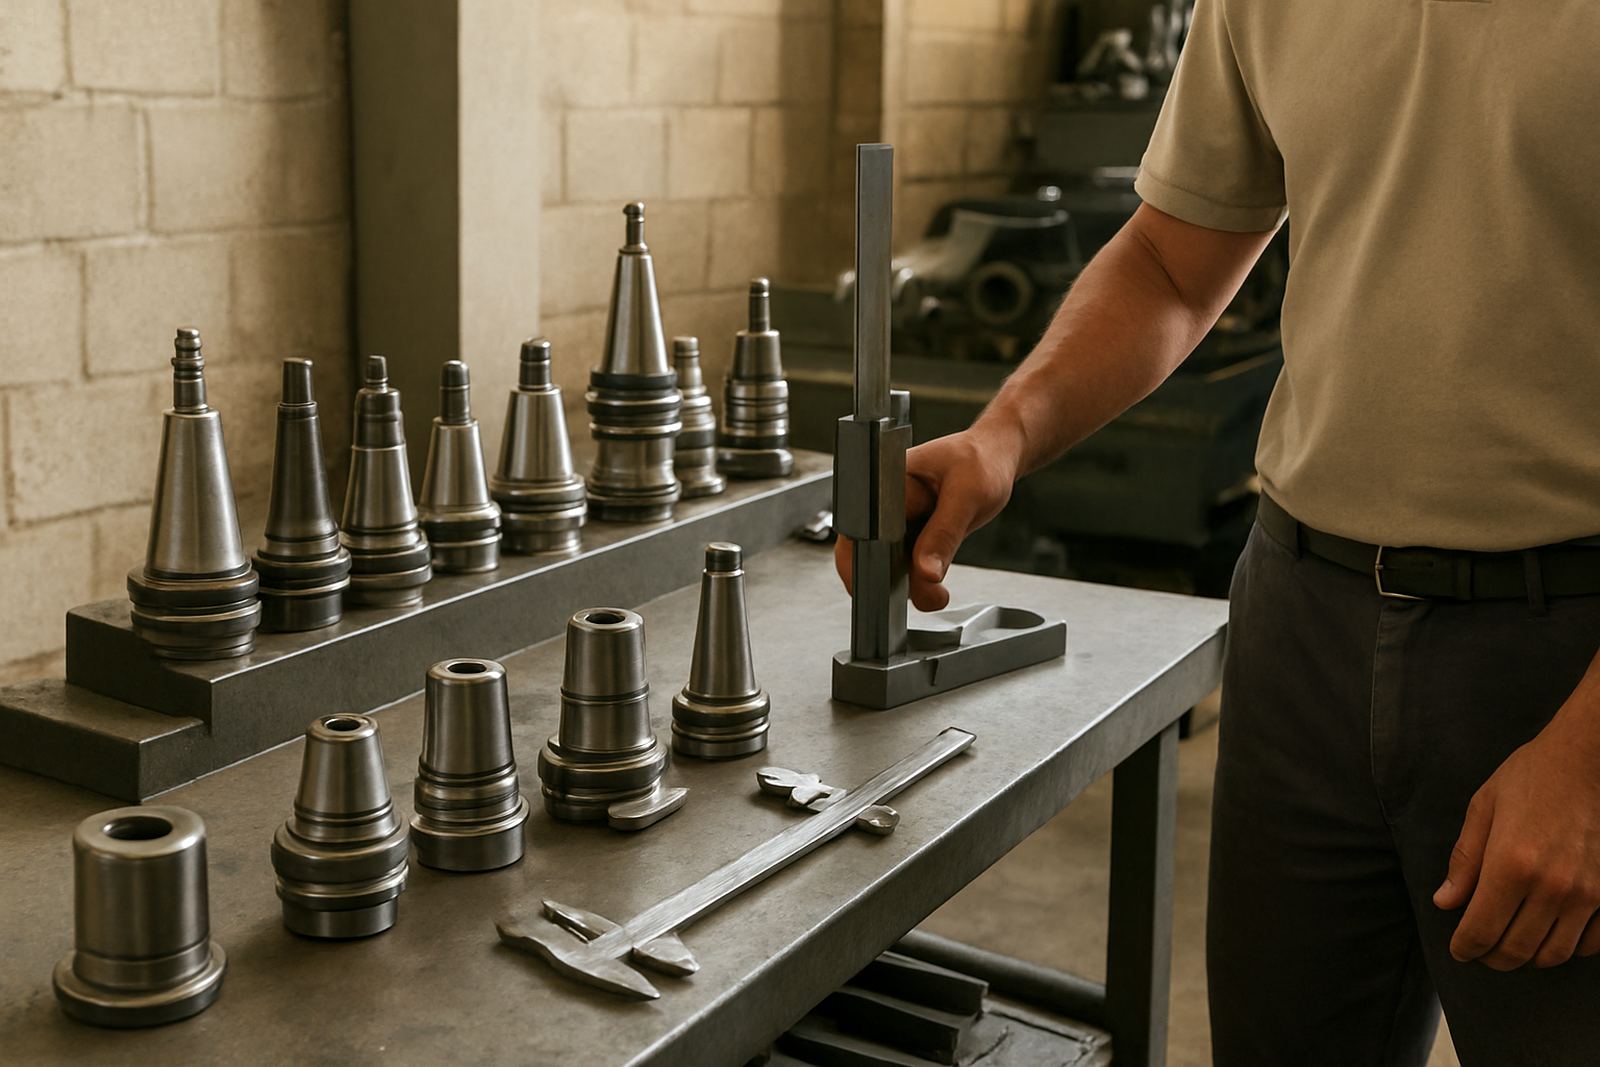
We supplied the printed prototype parts, the CNC finishing programme, and the inspection support needed to check runout, hole location and face condition after machining. Because the job involved both polymer and metal components, we paid close attention to clamping pressure, tool choice and heat build-up. Too much pressure on a printed blank can distort it, and too much heat can leave a face out by a fraction that becomes a problem during assembly.
The printed parts were produced with enough wall thickness for secondary machining and handling. We then used a controlled fixture setup to hold each item true for the finishing pass. The approach was simple but effective: print oversize where needed, cut back to final size where needed, then verify every key dimension before handover. It saved rework and kept the project moving.
- 3D printed prototype bodies with machining allowance built in
- CNC finishing on mating faces, hole locations and clamp contact points
- Dimensional checks before release, including visual inspection of edge quality
- Careful packing for delivery across Gqeberha to avoid chipping or marking
Timeline, checks and turnaround in weeks
The full job ran over 2 weeks from brief to delivery. Week 1 covered drawing review, print preparation and the first print set. That first set was used to confirm scale, fit and any obvious clash points. We then adjusted the part orientation and support strategy before the final print run. Week 2 covered CNC finishing, inspection and collection for the client in Newton Park.
There were two formal review points. The first was after the print samples came off the machine, when we checked the fit against the mating assembly and confirmed where extra stock was needed. The second was after CNC finishing, when we measured the final faces and hole positions against the agreed references. That stopped minor errors from carrying through into the client’s test build.
The turnaround stayed tight because the customer was ready with practical feedback and we kept the scope disciplined. No extra features were added halfway through, which is often where prototype work slips. A small change in geometry can become a bigger delay if it is not caught early, so we made sure the measurements were done before the next stage started.
Results for the test build in Newton Park
The finished prototype set allowed the client to test the assembly within the planned window and move ahead with their internal approval process. The main benefit was speed, but the bigger gain was that the parts arrived with enough accuracy to be used in a real fit check rather than just a visual mock-up. That gave the engineering team confidence in the next revision.
What stood out was the balance between speed and control. The printed body sections kept the project moving, while the machined interfaces gave the parts the precision needed for proper trial assembly. The client could identify minor changes in the second prototype stage instead of waiting until production, which is where costly mistakes often show up. The finish was also clean enough for the team to present to management without extra dressing.
- Prototype parts delivered in 2 weeks
- Critical interfaces machined to suit assembly fit
- Enough repeatability for the next revision cycle
- No hold-up from waiting on full production tooling
What we would do again on a similar job
We would use the same print then machine approach for any small prototype set where fit and speed both matter. It works well for machine shops, product developers and maintenance teams that need to verify an idea before committing to more expensive tooling. If the part has a few key faces and holes but the rest is mainly form, this method makes sense.
We would also keep the same process discipline: early measurement, a clear list of reference dimensions, and a defined approval point before final machining. That avoids waste and keeps everybody on the same page. For future work in Gqeberha, Kariega, Despatch or Coega, we would still plan around power interruptions, transport timing and coastal storage conditions because those small factors can affect finish and accuracy more than people expect.
For customers who need prototype support, our view is simple. Start with the dimensions that matter, protect those in the first build, and leave the rest open for quicker iteration. That is often the cleanest route to a part that can be tested properly the first time.
Key facts
| Project | Newton Park Prototype |
|---|---|
| Client type | Engineering workshop, Newton Park, Gqeberha |
| Scope | 3D printing plus CNC finishing for prototype parts |
| Turnaround | 2 weeks |
| Critical features | Datum faces, hole positions, clamp interfaces |
| Service area | Gqeberha, Kariega, Despatch, Coega, Struandale, Markman |