What the East London team needed from its jigs
The client was a mid-sized fabricator in East London supplying welded sub-assemblies to local industry and transport contractors. Their operators were good, but the same parts were being set out by eye and checked with tape measures and loose offcuts. That meant variation between shifts, more rework, and more time spent trimming, clamping and rechecking before welding could start.
The brief was straightforward. They wanted jigs that made it easier to locate parts quickly, hold them square and repeat the same finished dimensions across a run. The parts were not huge, but there were enough small features and repeated holes that the old method was slowing the shop down. They also needed the solution to suit a busy floor where tools move around, jobs change fast, and there is not much patience for anything fragile.
- Client type: fabrication shop in East London
- Problem: inconsistent assembly and too much manual setting out
- Goal: faster fit-up with better repeatability
- Use case: repeated welded and assembled parts
Why the job needed both printed and machined parts
The main constraint was speed without losing accuracy. Some locating features needed to be made quickly so the team could trial fit parts and adjust offsets early in the process. Other sections needed tighter wear resistance because clamps, pins and contact faces would see daily use. East London also brings the usual workshop realities: dust, heat, handling marks and the risk of jigs being dropped or bumped between jobs.
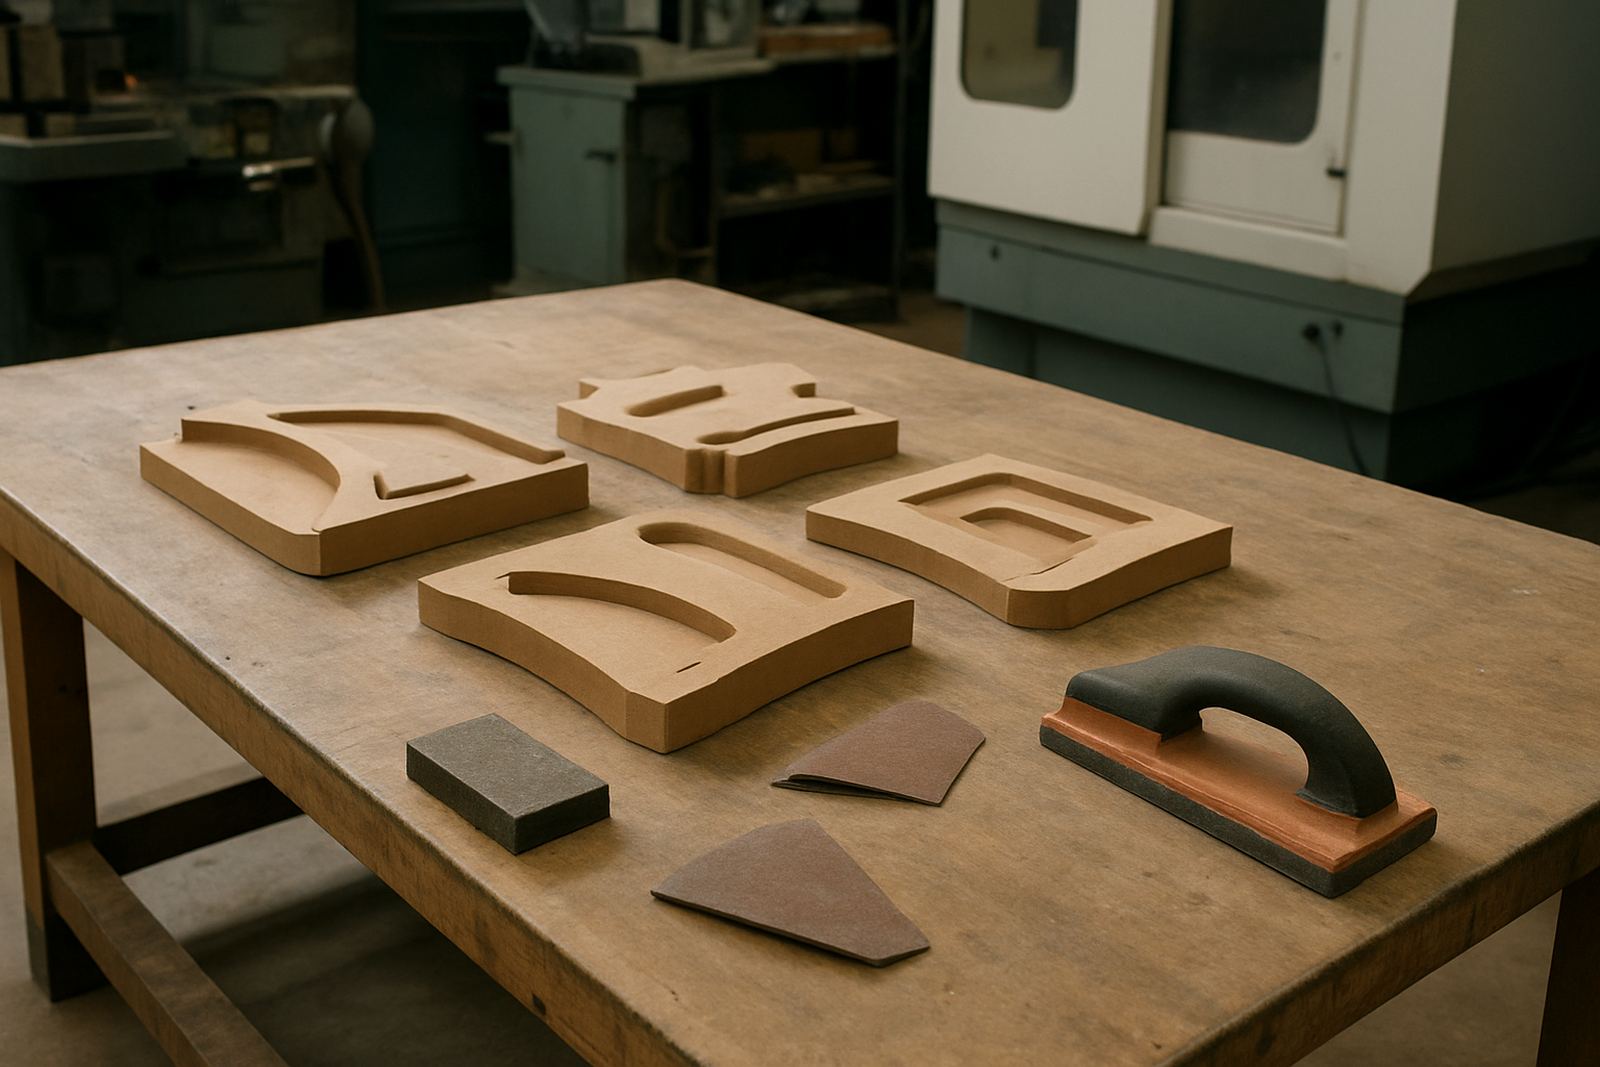
We chose a mixed approach. Printed components were used where shapes were complex and changes might be needed, while machined components handled the critical contact points and load-bearing areas. That split kept the turnaround sensible and gave the shop a practical balance between speed and durability. It also made the jig easier to maintain because worn sections could be checked and replaced without scrapping the whole setup.
- Printed parts for complex locating profiles
- Machined parts for wear faces, pins and clamp interfaces
- Designed for workshop handling and repeated use
- Easy to inspect and replace if a section wore early
What Tooling supplied and how it was put together
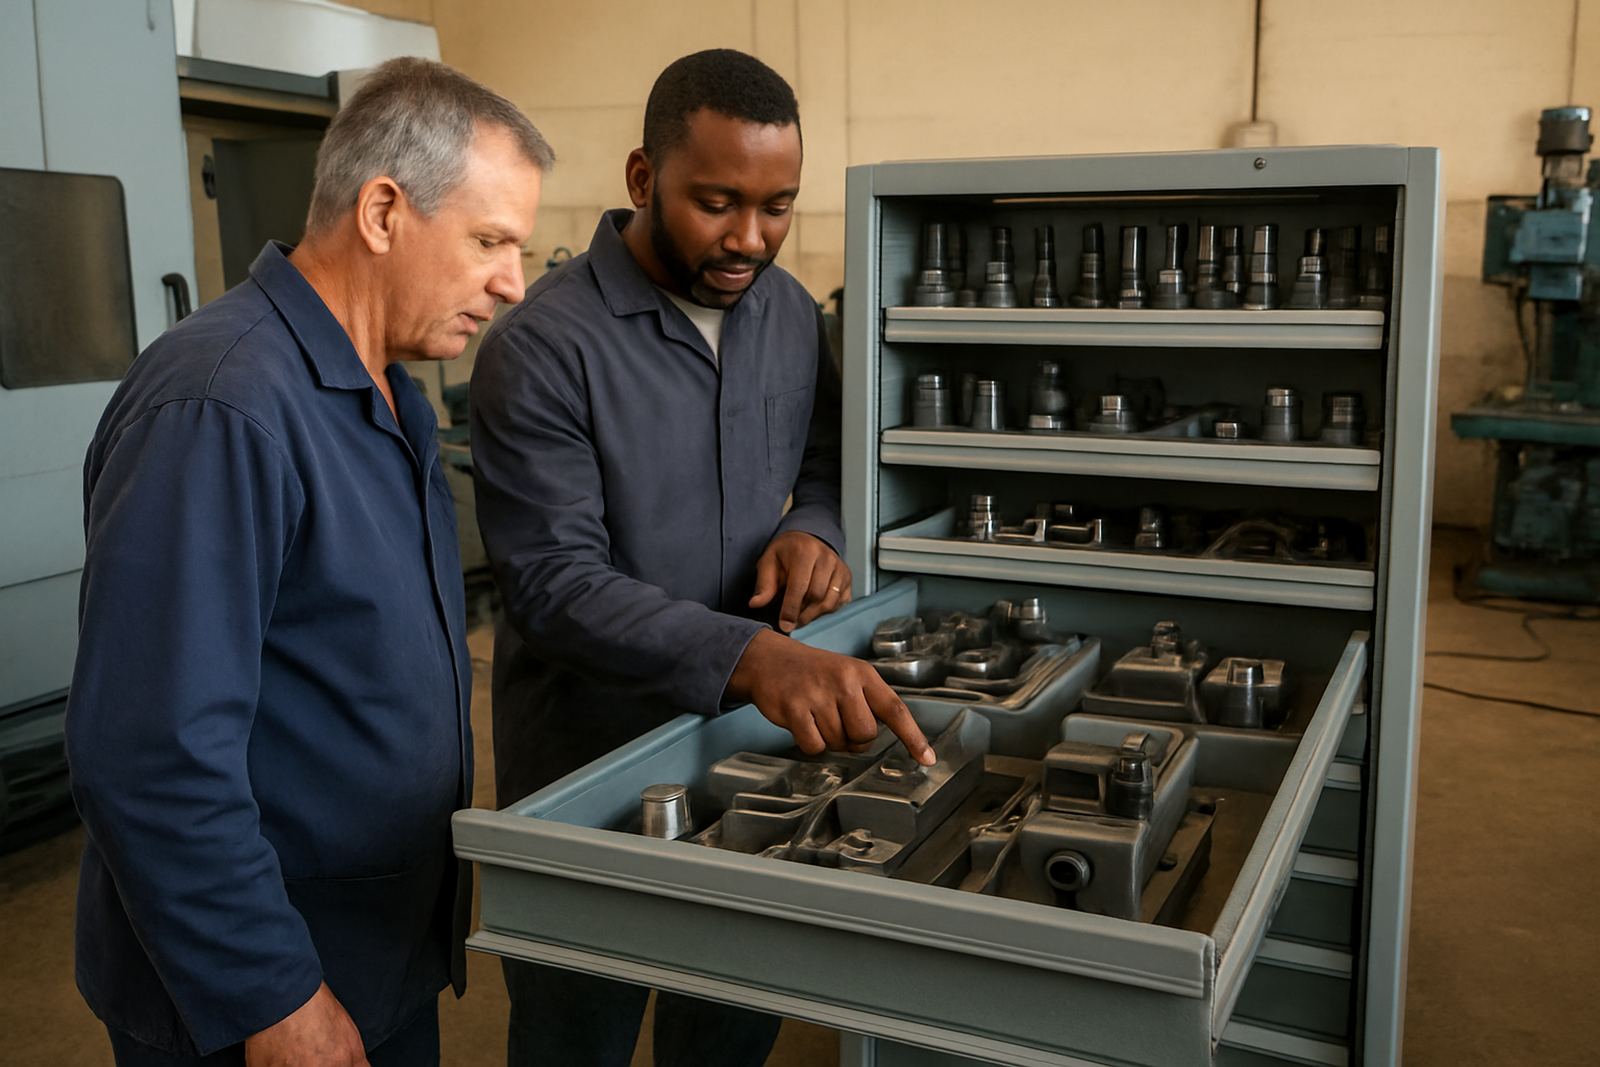
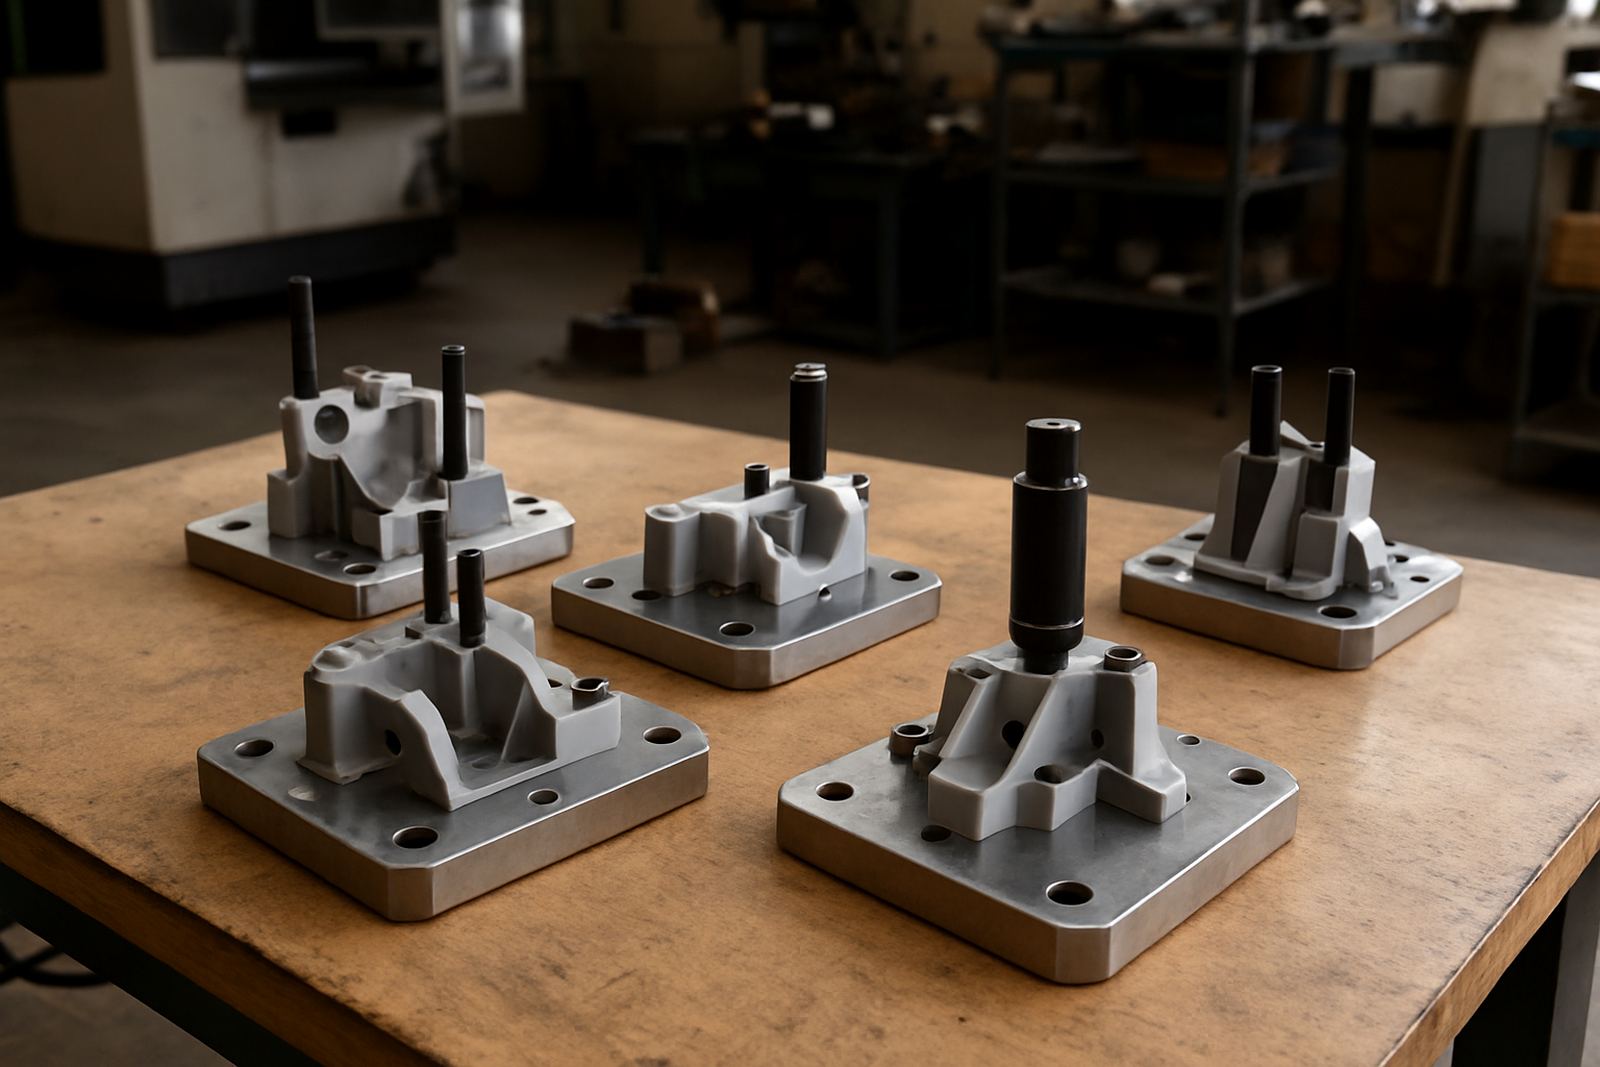
Tooling supplied a set of jigs built around the actual production sequence, not just the drawing. We measured the assembly stages, checked the parts that were drifting out of line and then worked back from the critical faces and hole positions. The final package included location blocks, guide features, clamp points and reference surfaces that made it easier for operators to load parts in the same position every time.
We also checked how the team handled parts during changeovers. Some components needed to be loaded from one side, others from above, so the jig had to allow access for clamping and welding without forcing awkward movements. The layout was kept simple enough for floor use, but accurate enough to hold repeat dimensions within the tolerance window the client was aiming for.
- Location blocks and stop faces matched to the assembly sequence
- Clamp points positioned for quick loading and unloading
- Reference surfaces set to help with consistent alignment
- Mixed material approach for trialing and wear areas
Timeline, checks and handover in 4 weeks
The project ran over four weeks from initial brief to handover. Week one covered inspection of the sample parts, current process checks and confirmation of the key dimensions. Week two focused on the layout and first set of components. In week three we carried out fit-up checks and made small adjustments to the locating points. Week four was used for final inspection, cleaning, packing and delivery to East London.
Before handover, we checked runout and alignment where needed, and we verified that the jigs could be loaded by the team without forcing or binding. The client wanted a practical tool that could be used immediately, not something that needed a long learning curve. That part did it well because the operators could see straight away where each part sat and where the clamps needed to come in.
- Week 1: sample review and process measurement
- Week 2: layout and first build of parts
- Week 3: fit-up checks and adjustment
- Week 4: final inspection and delivery
Results on the floor after the first runs
Once the jigs were in use, the fabricator saw better repeatability from batch to batch. Parts dropped into the correct position more easily, which reduced the time spent nudging, tapping and checking before welding. The team also reported fewer assembly errors caused by mixed-up offsets or inconsistent manual marking. That made the workflow steadier, especially on repeat jobs with similar dimensions.
From a production point of view, the biggest gain was time. Operators could set up faster and move on to the actual build sooner. The jigs also reduced reliance on the most experienced staff for every set-out, which helped on busy days when multiple jobs were running at once. There was less rework after fit-up, and less frustration when a job came back for a second or third correction.
- Better repeatability across repeated assemblies
- Less time spent on marking out and manual rechecking
- Reduced rework after fit-up
- More consistent results between operators and shifts
What we would repeat on the next jig project
If we were doing the next one for a similar workshop, we would follow the same pattern: measure the actual process first, then build the jig around the way the job is handled on the floor. That approach works because it keeps the solution practical. A jig that looks clever but slows loading down will not last in a real production area. A simple, well-set fixture that fits the parts and survives daily use is the better buy.
For East London and coastal workshops in general, we would also keep material choices focused on corrosion resistance where needed, especially around clamps, pins and exposed metal surfaces. Workshops close to the coast can see humidity and surface wear faster than inland sites, so finish and maintenance matter. With the right cleaning and inspection routine, these jigs should keep paying back over multiple production runs.
- Start with the real process, not just the drawing
- Keep loading and clamping easy for operators
- Use durable contact points for high-wear areas
- Plan for coastal humidity and routine maintenance
Key facts
| Project | East London Jigs |
|---|---|
| Client type | Fabricator supplying welded sub-assemblies |
| Location | East London |
| Solution | Printed and machined jigs |
| Timeline | 4 weeks |
| Outcome | Improved repeatability and reduced rework |